




























Before cutting acoustic wall panels, work out exactly where each cut will sit on the finished wall. A measured layout helps you place the slat pattern, plan visible edges and resolve sockets before altering a panel. Keep the cutting method tied to the exact product you have bought.
This is a pre-cutting checklist for a slatted feature wall. For the WallSet panels shown below, obtain the manufacturer's current, model-specific cutting instructions before starting. Those instructions should confirm the tools, blade, cutting direction, support and edge treatment. Do not assume that a method demonstrated on another brand applies.
Identify the panel and the cut
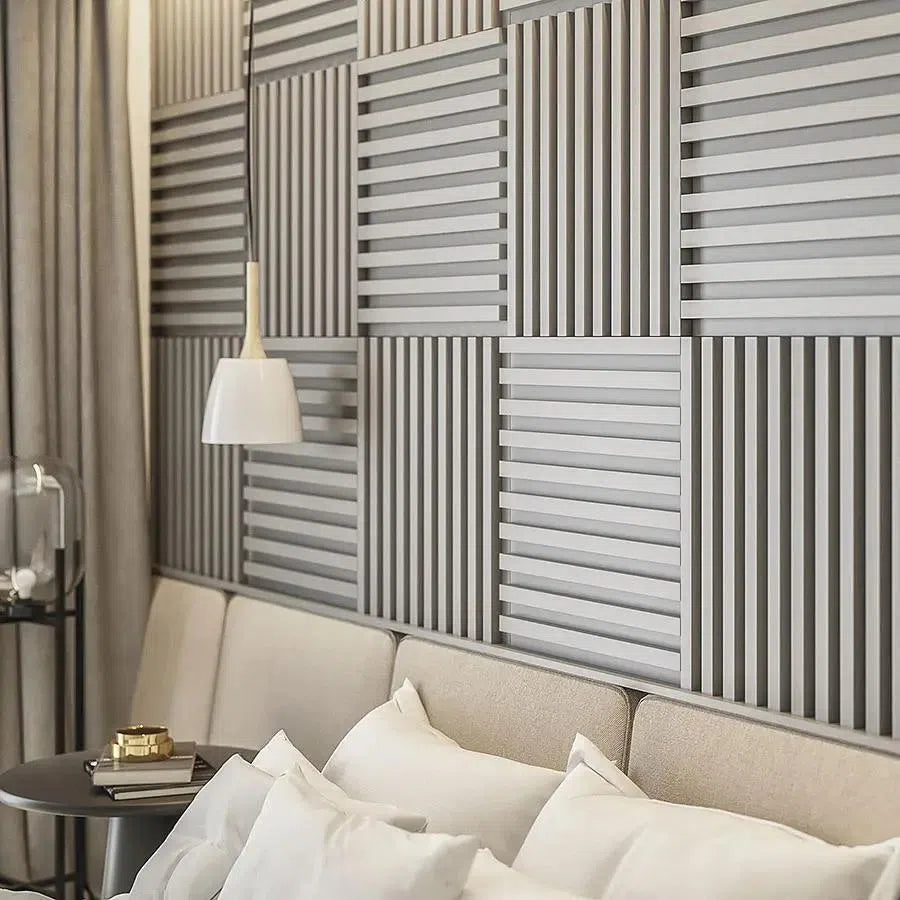
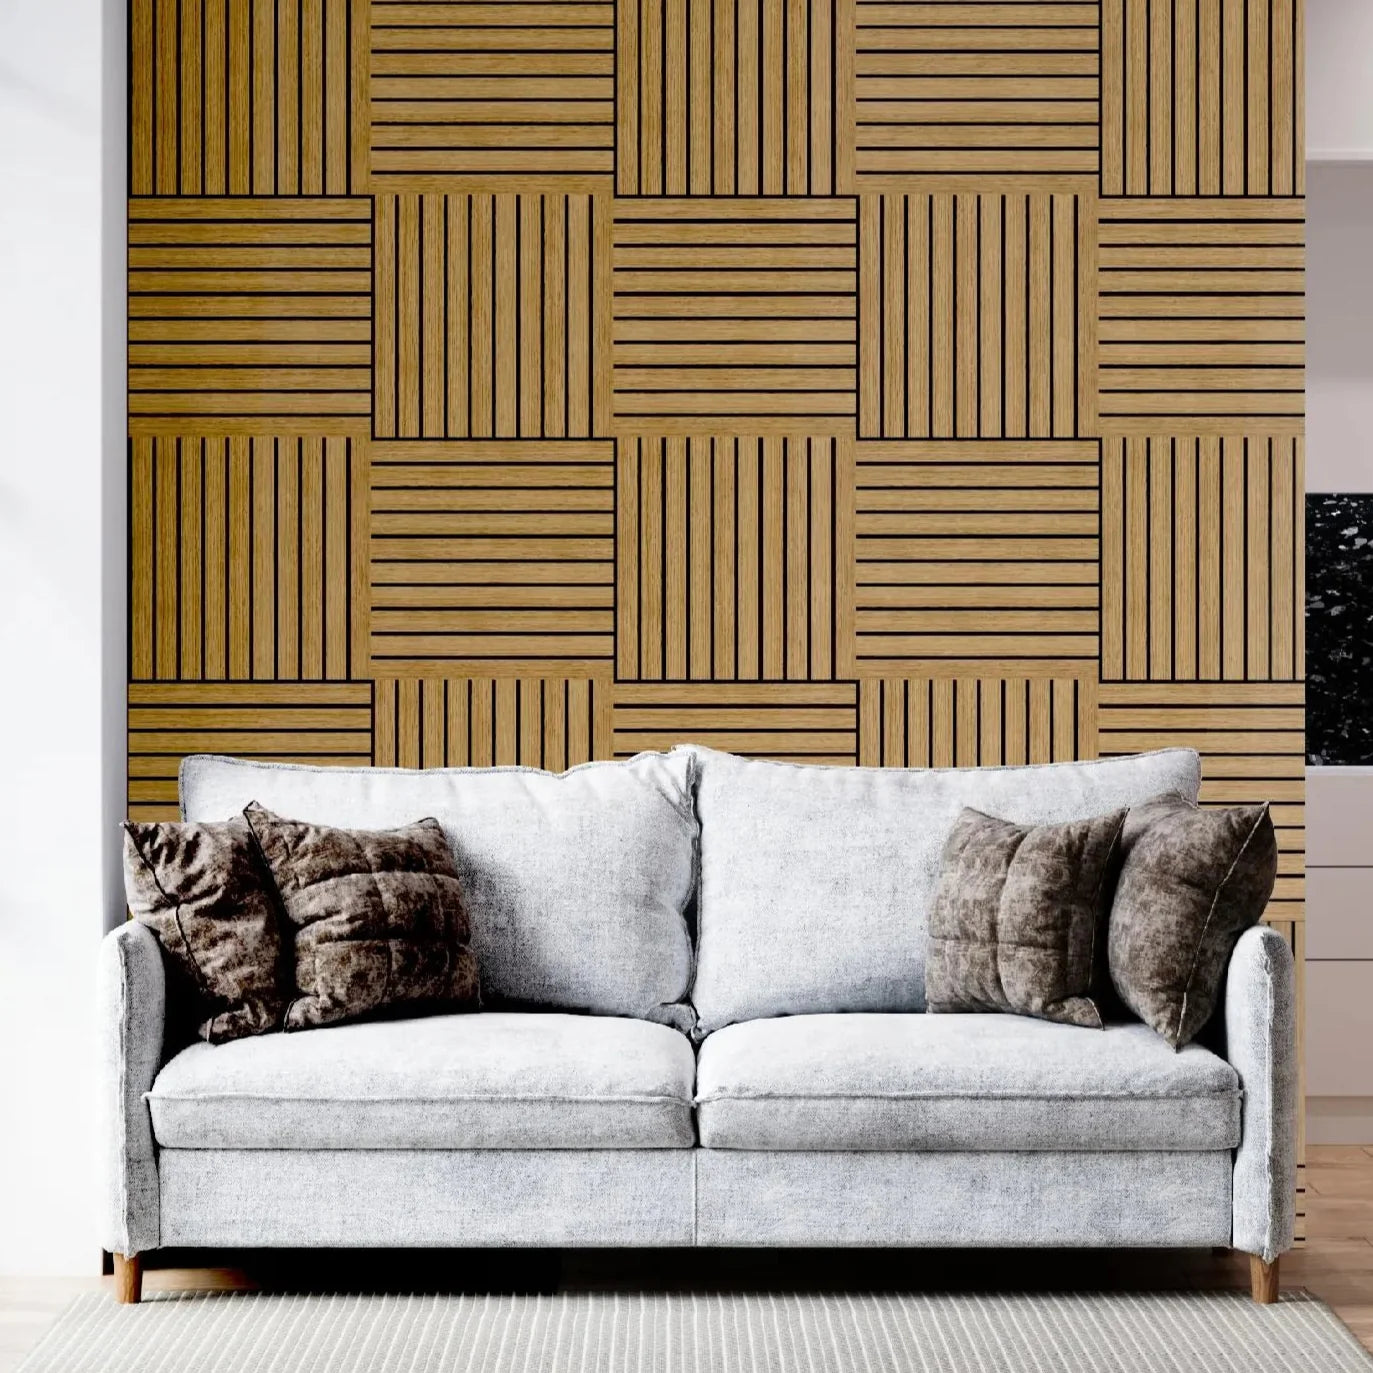
Keep the product name, size, finish and order reference beside your drawing. Ask the supplier to match the instructions to that exact panel. If you are still choosing finishes, compare the Natural Oak – Black and Walnut acoustic wood slat panels, then request the relevant fitting information before ordering the project quantity.


Give each required cut a clear description: shortening the panel, reducing its width, following an uneven boundary or forming an opening. Ask which of these alterations the manufacturer permits and whether any need a different method or additional finishing.
Measure the finished panel area
First decide where the panelling will start and stop. Will it sit above the existing skirting, meet a new trim or form a smaller feature with a painted border? Draw that decision before recording dimensions.
- Measure at several positions. Record the width near the top, middle and bottom of the proposed area. Record the height at the left, centre and right.
- Mark fixed reference points. Choose a clear starting line and label it on the drawing. Record openings from the same references so measurements remain easy to compare.
- Draw obstacles. Add sockets, switches, vents, wall lights and door trim. Photograph each detail and label the photograph to match the drawing.
- Confirm the finished dimensions. Ask the installer to include any manufacturer-required clearances and the agreed edge finish before approving the cut sizes.
Keep the actual wall measurements and the proposed panel dimensions in separate columns. This makes any allowance visible instead of leaving someone to guess whether it has already been included.
Place the slat pattern before cutting
Sketch the panel boundaries across the wall and mark the visible slat arrangement. Compare a layout starting at one side with a centred layout. Look particularly at the last piece, the two outer edges and the positions of any openings.
A useful drawing shows which panel receives each cut. Label them A, B, C and so on, with a top arrow and a note identifying the room-facing side. Check the arrangement from the main viewing position and beside the furniture. Adjust the layout on paper before turning it into a cutting list.
Plan sockets with an electrician
For acoustic panels around sockets, settle the finished socket detail with a qualified electrician before marking an opening. Show them the selected panel and proposed mounting arrangement. Ask them to confirm the final fitting position, access and the opening dimensions your installer should work to.
Use a labelled paper template to review the position on the wall and on the panel drawing. Check its relationship to the slat pattern as well as its measurements. Leave electrical work to the electrician, and do not cut a panel in place over concealed wiring. A socket opening should be an agreed detail before the first panel is fitted.
Decide how cut edges will finish
Mark every edge that will remain visible: the outer sides, a half-height top, window returns and the perimeter of an opening. Ask the manufacturer which finishing detail is suitable for each one. Confirm any trim or finishing component before setting the final cut dimensions.
Keep a clear note of which edge will be retained and which part is waste. If an offcut is intended for another part of the layout, label its proposed location and orientation too. Include any trial cuts in the material plan.
Check the method before starting
- Have the exact panel instructions and the tool's safety instructions available.
- Confirm the permitted cutting tool, blade, face orientation and support arrangement.
- Confirm the required dust controls and protective equipment for the material and tool.
- Ask whether a sample or spare piece is suitable for a trial cut.
- Check the trial result and finished dimensions before repeating the method on project panels.
Frequently asked questions
Can I cut acoustic panels with a jigsaw or utility knife?
Confirm this for the exact panel and part being cut. This checklist does not specify either tool for the featured WallSet models because a verified model-specific manufacturer cutting method is needed first.
Bring the plan together
Finish the drawing, socket details and edge plan, then obtain the approved cutting method. Browse our acoustic wood slat wall panels and keep the chosen product reference with your measurements.


