


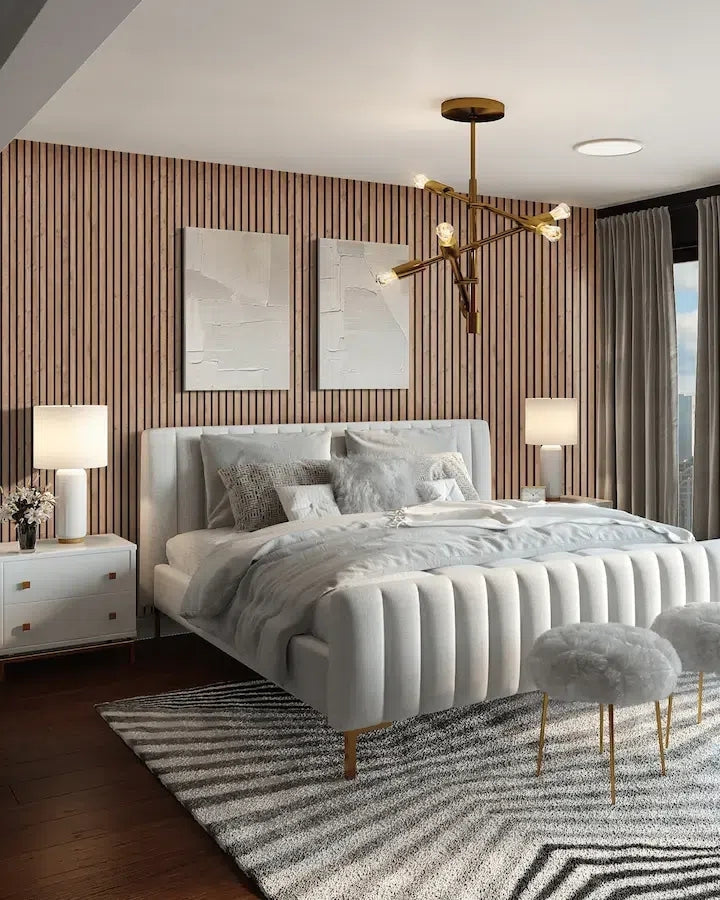




An LED skirting board can bring a line of light to the lower part of a room. A successful scheme starts with a drawing: where the light begins, how it passes corners and doorways, and where the electrical equipment will go. Settle those details before choosing the full quantity of profiles.
This guide focuses on planning low-level skirting board lighting with NOËL & MARQUET IL10 and IL11 WALLSTYL profiles. Use it to prepare a clear brief for your installer and electrician, then follow the current instructions for the chosen profile and lighting components.
Choose where the light will run
Draw the room from above and mark each proposed illuminated section. Include door frames, radiator pipes, fitted cupboards and the furniture you intend to keep. Consider whether you want a continuous-looking perimeter or a shorter accent along one visible wall.
- In a hallway: check the view through every doorway. Decide how the illuminated line should stop beside the architrave and resume in the next section.
- In a living room: draw the sofa and sideboard at their actual sizes. Review whether the remaining visible sections create the effect you want.
- In a bedroom: check the proposed light from the bed as well as from the doorway. Include bedside tables and any floor-length curtains in the plan.
Photograph the room at night with its usual lamps on. Use those photographs when discussing the new lighting, rather than choosing it entirely from a daytime view.
Compare the IL10 and IL11 profiles
The manufacturer's product pages identify IL10 WALLSTYL and IL11 WALLSTYL as skirtings for indirect LED lighting. IL10 measures 80 × 23 × 2,000 mm; IL11 measures 80 × 20 × 2,000 mm. Both have a groove for LED strips and are supplied primed for painting.
Compare their cross-sections beside your door trim and planned wall finish. Mark the proposed height with a paper strip and look along the wall from both ends. Choose the profile whose outline suits the room, then confirm the complete lighting specification separately.


Plan corners and doorways before ordering
Number the wall sections and record each length individually. Add a separate note for internal corners, external corners and exposed ends. A single room-perimeter total does not show the installer where each piece must begin or finish.
In its current installation manual, NOËL & MARQUET directs installers to measure corner angles and remove the diffuser before cutting the profile. Its lighting guidance recommends LED systems with suitable corner connections for horizontal runs. Agree the profile joints and lighting connections together.
Ask the installer to turn your measured sketch into a cutting list. Include the ends beside door frames and any short returns around projections. Confirm the allowance for cuts from that list rather than applying a percentage without checking the layout.
Agree power, controls and access
The same manufacturer's lighting guidance says the driver position must be decided in advance and the electrical connection must be completed by a qualified electrician. Take the proposed route to your electrician before fitting or decorating.
- Confirm the components. Ask for an agreed list covering the strip, driver, controls, connections and any required mounting accessories. Check which items are included with the profile.
- Decide how you will use it. Would you like one switch for the whole room, separate sections or dimming? Ask the electrician to confirm a compatible arrangement.
- Agree maintenance access. Mark the proposed driver and connection positions on the drawing and ask how they will be reached later.
- Arrange a lighting trial. Where practical, review a sample section with the proposed components, diffuser and floor finish before committing to the full room.
Coordinate paint and finishing
Choose whether the skirting should match the wall, the other woodwork or a contrasting colour. View a finish sample beside the flooring and door trim. For IL10 and IL11, NOËL & MARQUET specifies removing the diffuser before painting and keeping its attachment area free of paint build-up.
Ask your installer to confirm the preparation, adhesive, joint treatment and drying stages from the current instructions. Put the decorating and electrical stages on the same work schedule so that each person knows when access is needed.
Frequently asked questions
Can I add LED lights to my existing skirting boards?
Check the exact existing profile and proposed lighting system with their manufacturers. The IL10 and IL11 details above apply to those models; they do not establish compatibility for another board.
Should I illuminate every wall?
Start with the sections you will actually see. Compare a full-room sketch with a simpler arrangement, including the breaks at doors and furniture, before deciding.
Bring the plan together
Prepare the measured route, choose the profile and agree the electrical layout before ordering. Explore our skirting boards for LED lights to compare the options for your room.


