

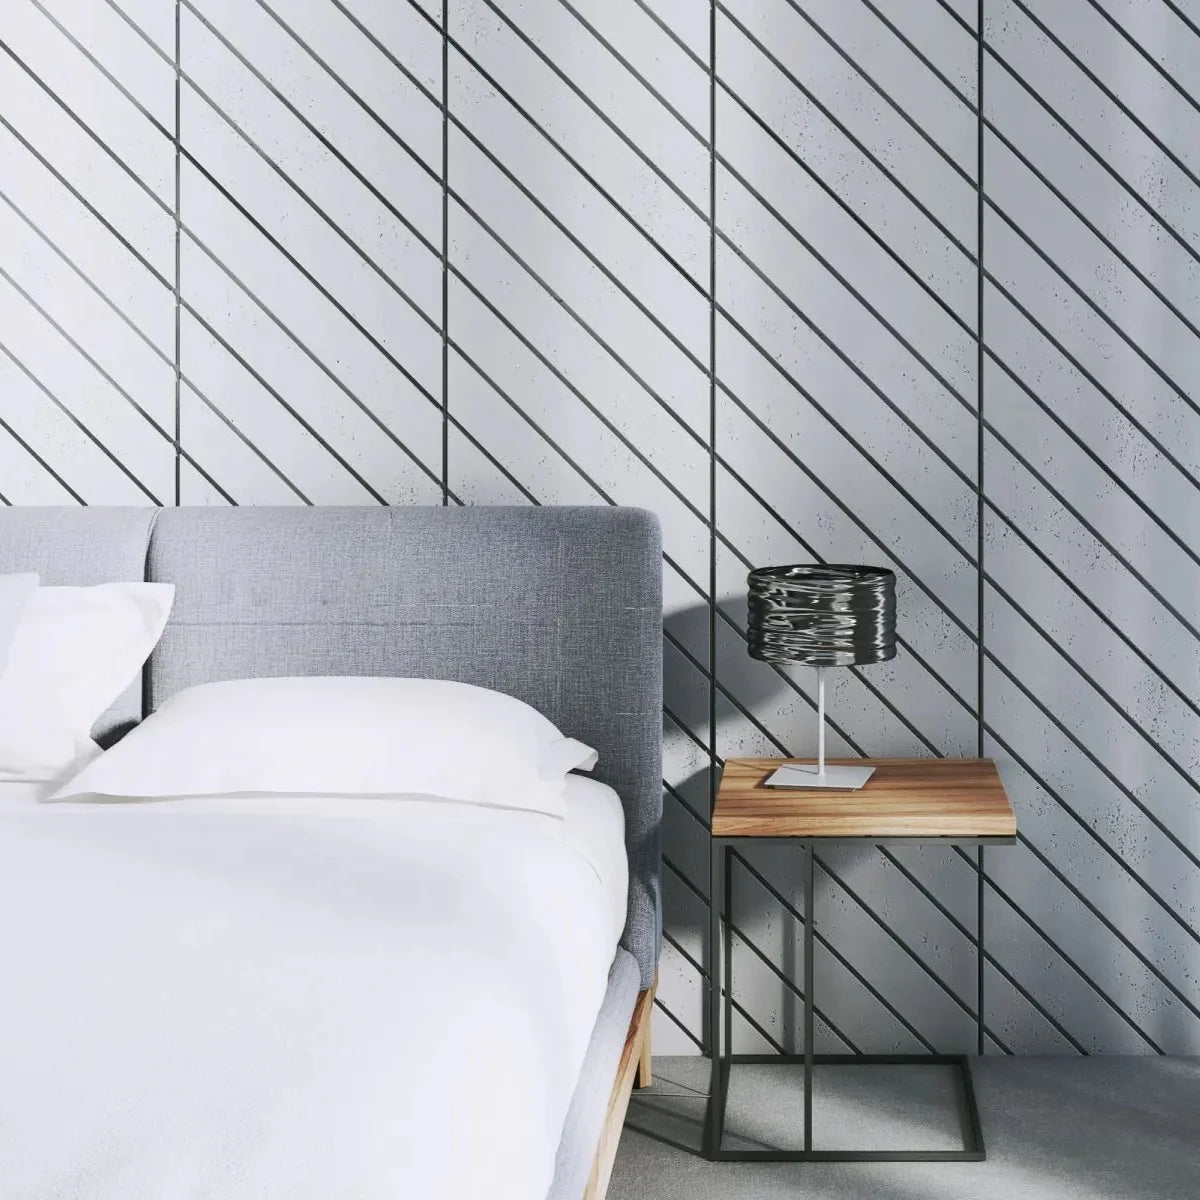
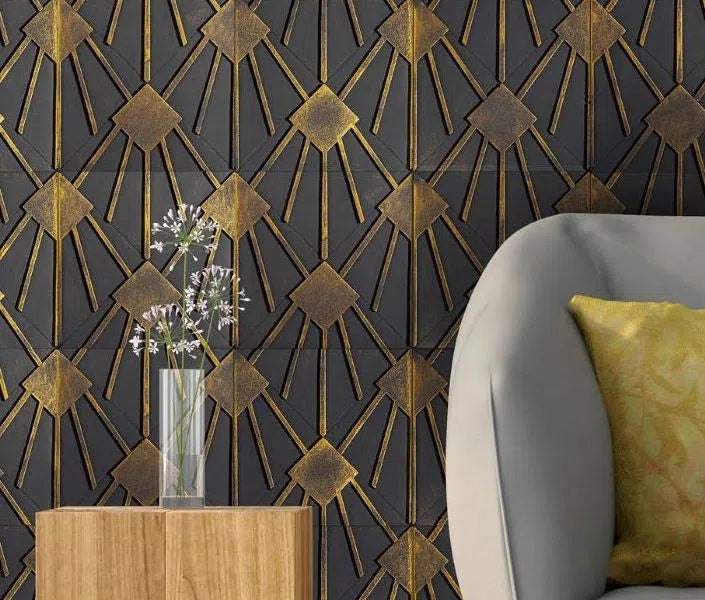
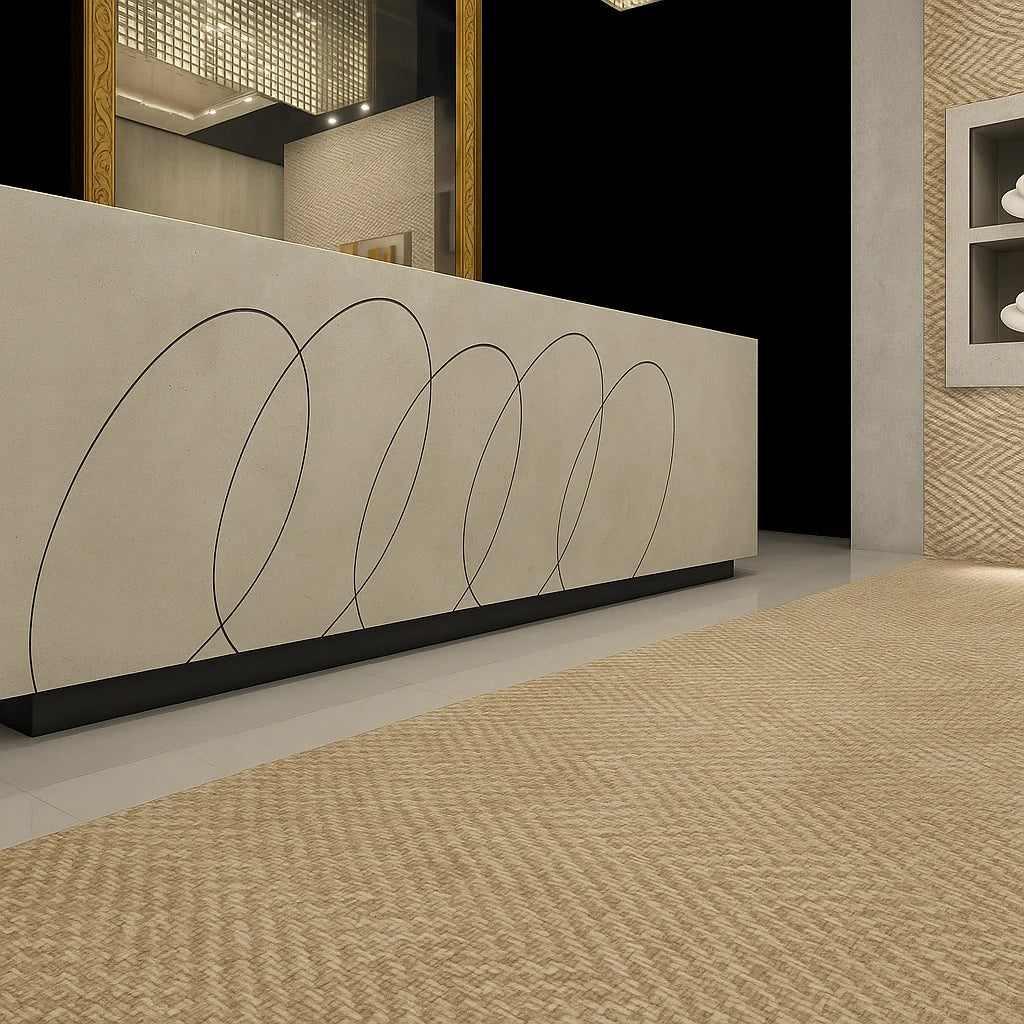
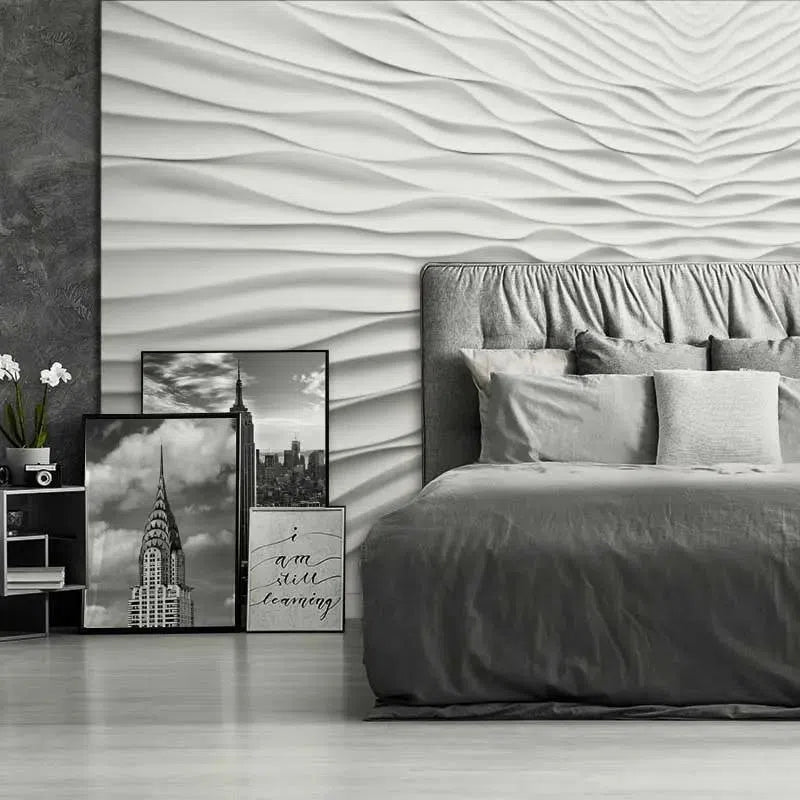

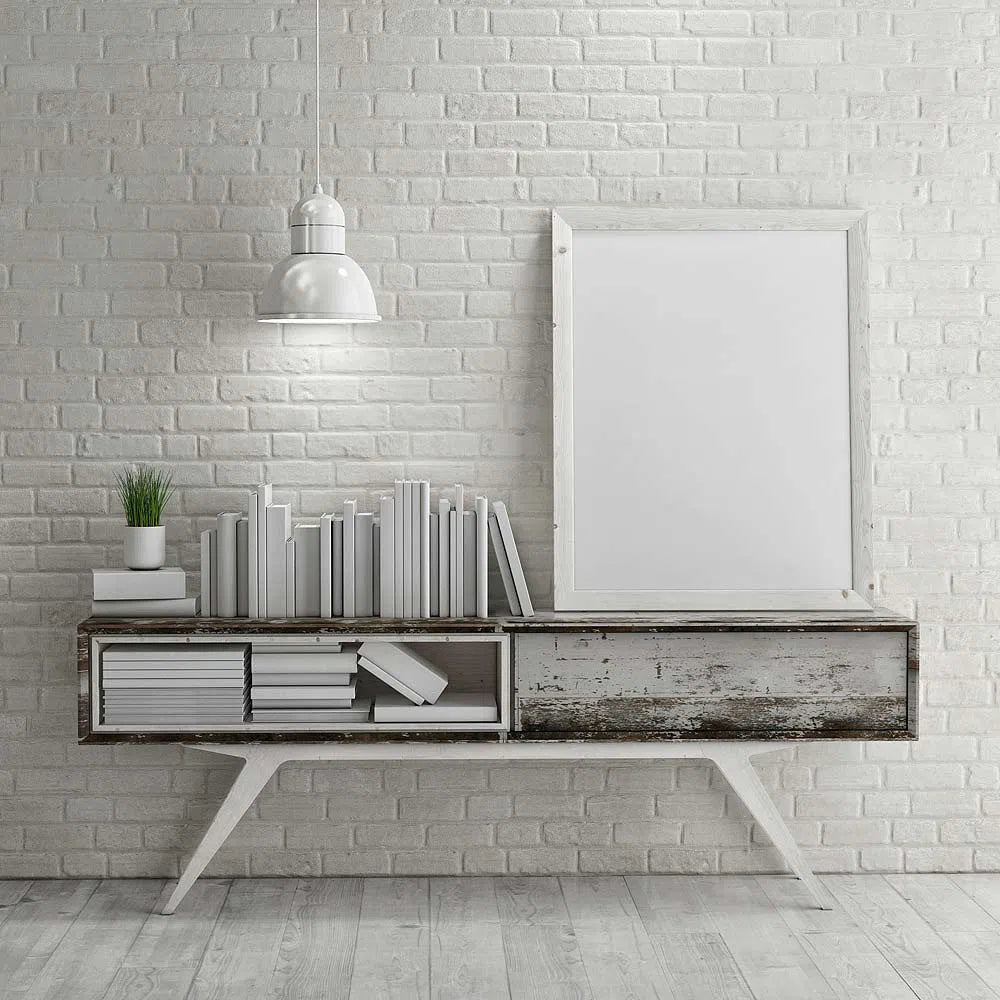
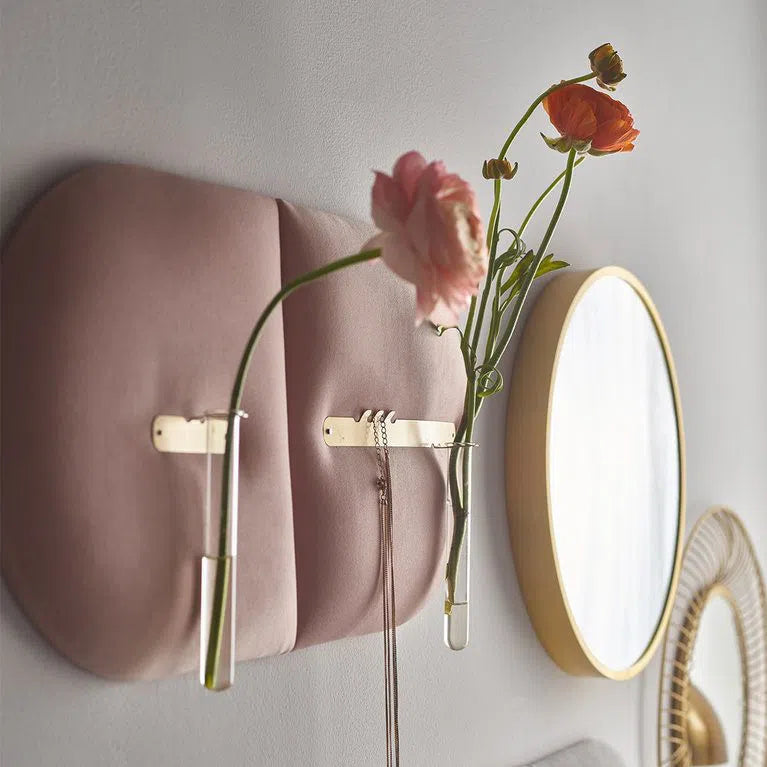

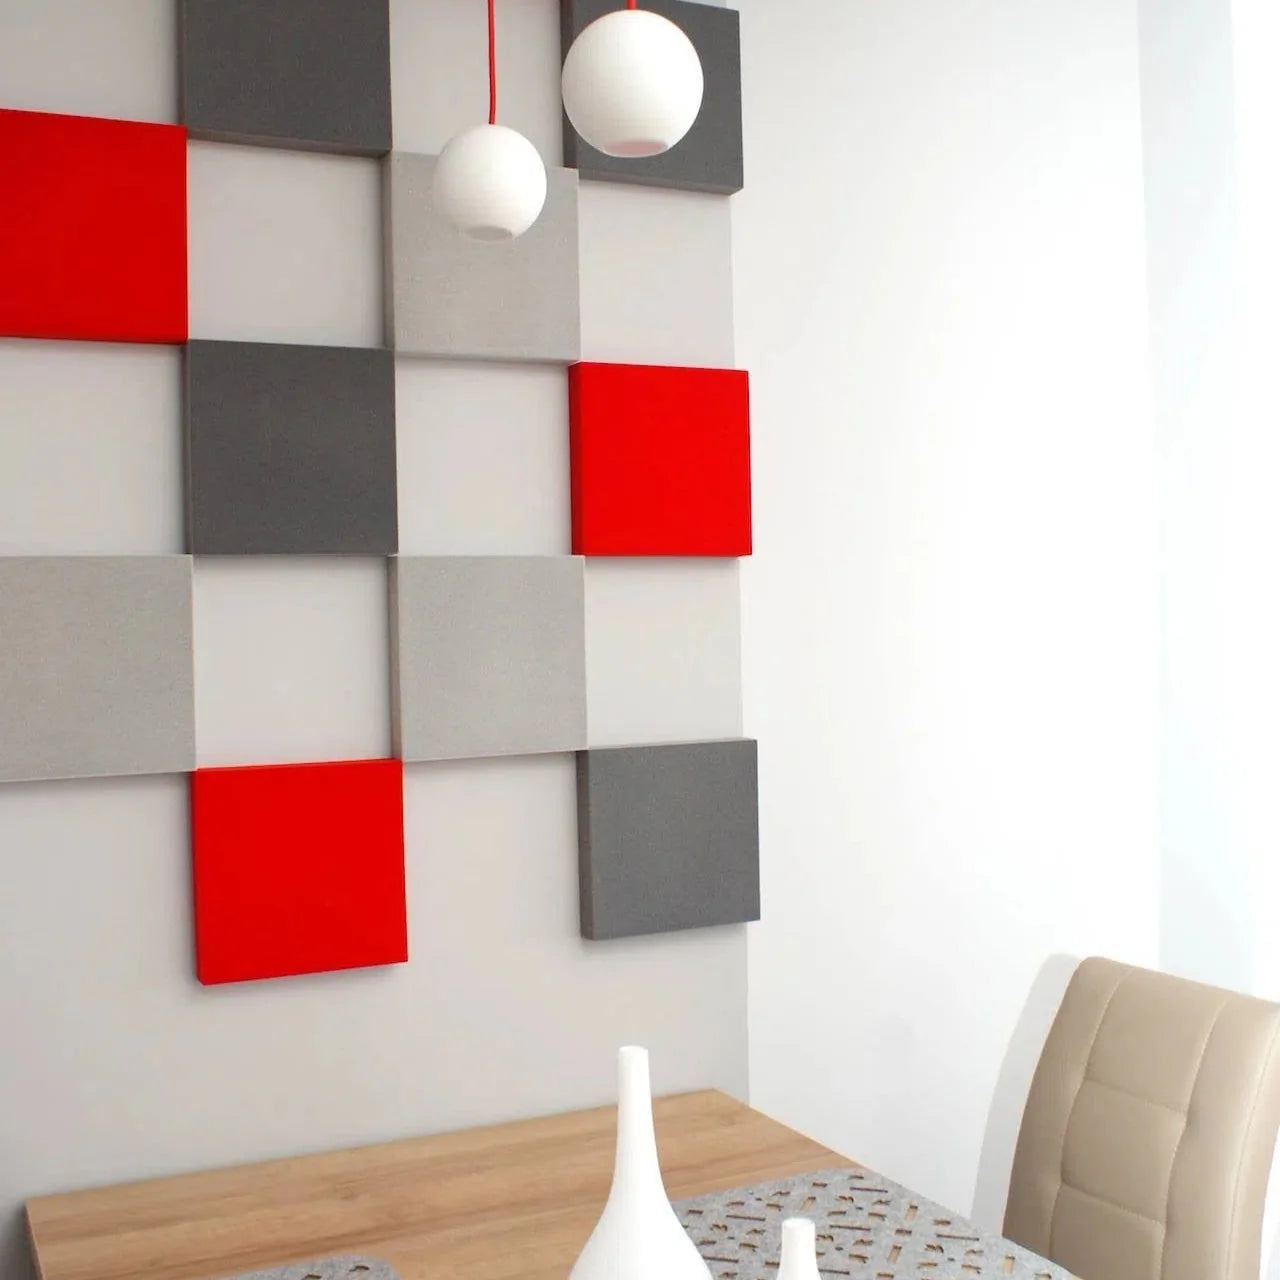
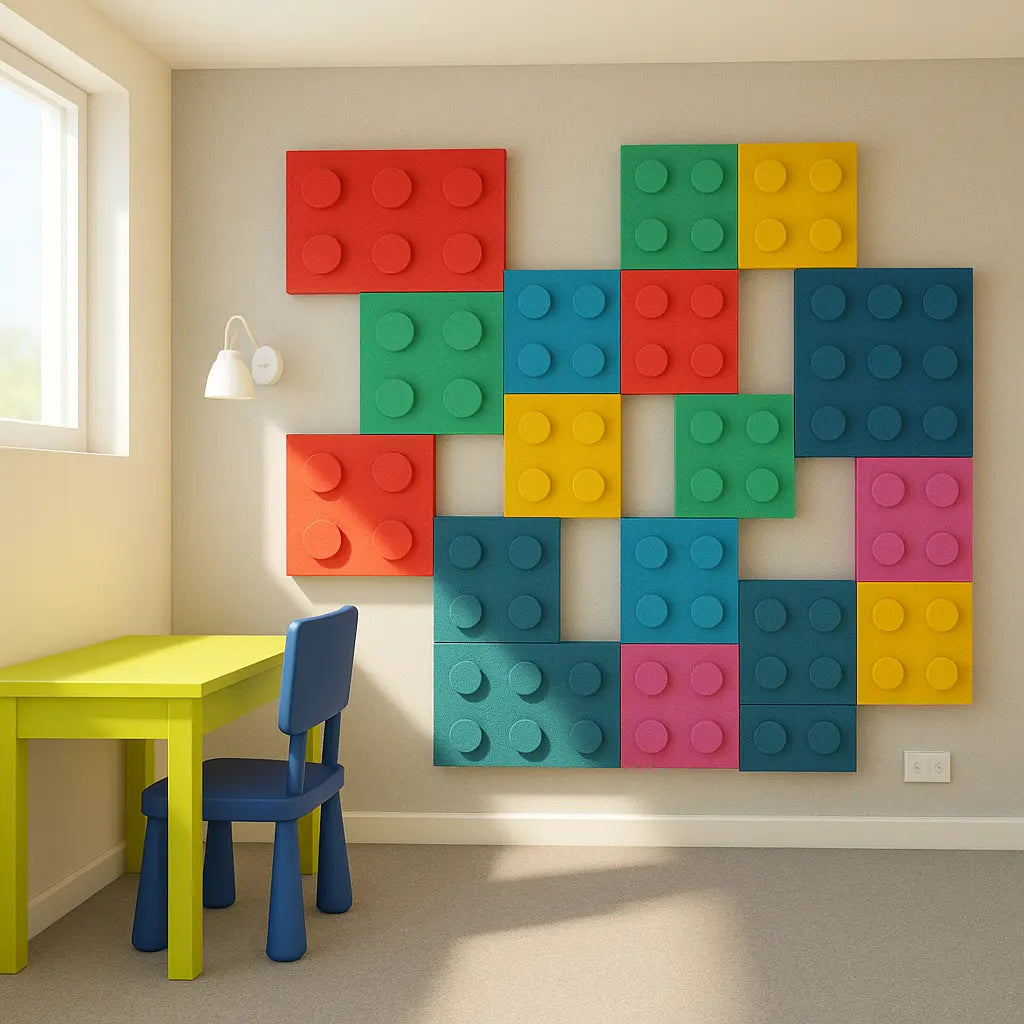
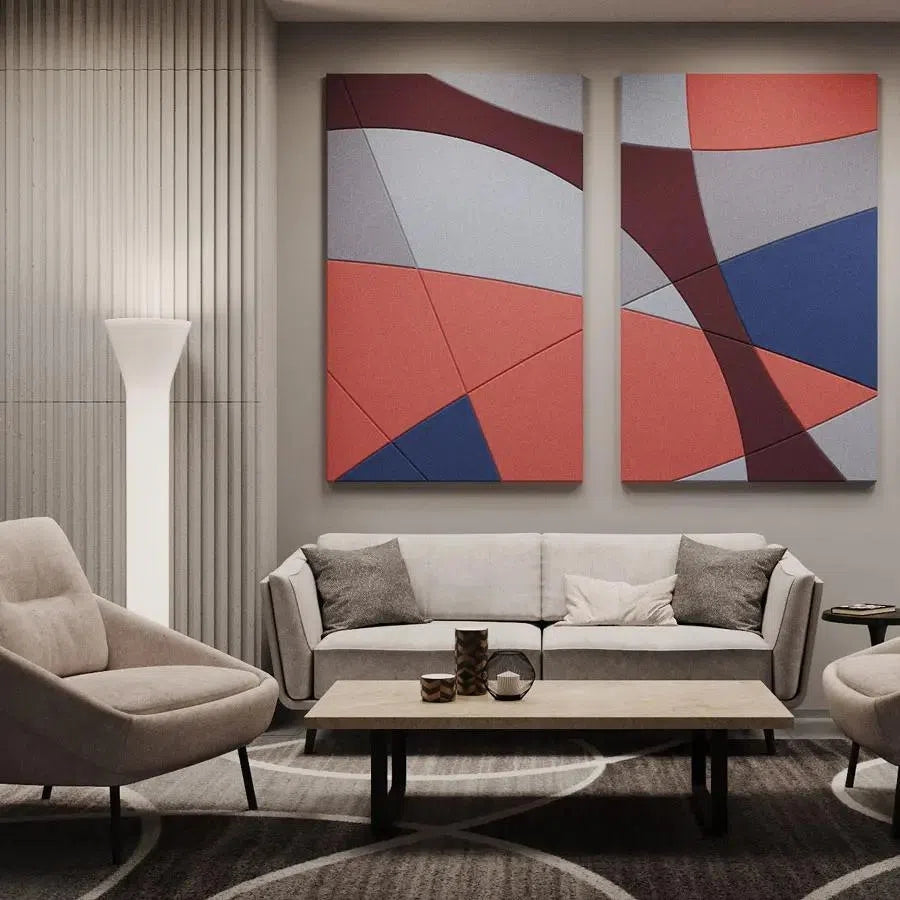


The best starting point for a home office wall is the view through your camera. Set up the desk and screen, open a video preview and check which part of the room is actually visible. Then use colour or a measured panelled section to give that background a clear, tidy composition.
This approach also works in a spare bedroom or living-room workspace. You can improve the area seen on calls while keeping the rest of the room comfortable for everyday use. A small, well-placed feature may do more for the view than covering an entire wall.
Plan the background from the camera
Place the camera at your normal working position and sit as you would during a call. Zoom's video communications guide recommends an eye-level camera and testing your setup. Make those checks before deciding where the decorative feature should begin and end.
- Note the visible wall area. Take a reference screenshot for your own planning. Move back slightly and check whether the crop changes when you use another device.
- Look for interruptions. Door frames, shelves and pictures may appear directly behind your head. A small desk adjustment can improve the composition before any decorating is needed.
- Check privacy. Move letters, personal documents and sensitive information out of the visible area. Consider whether the camera points towards a regularly used doorway.
Test during both a daytime call and the time you usually finish work. The same wall can look quite different once the room relies on lamps rather than daylight.
Choose one main visual idea
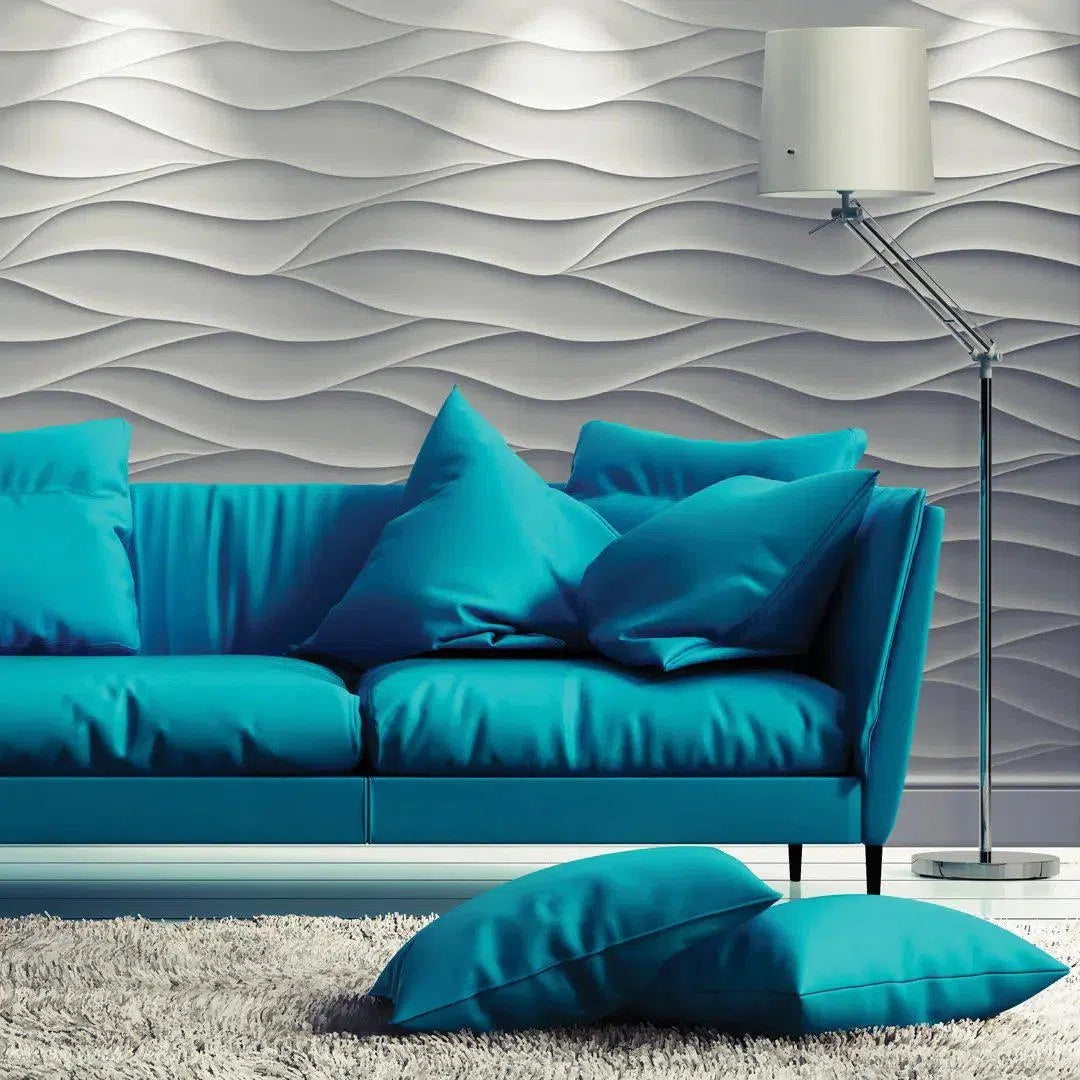
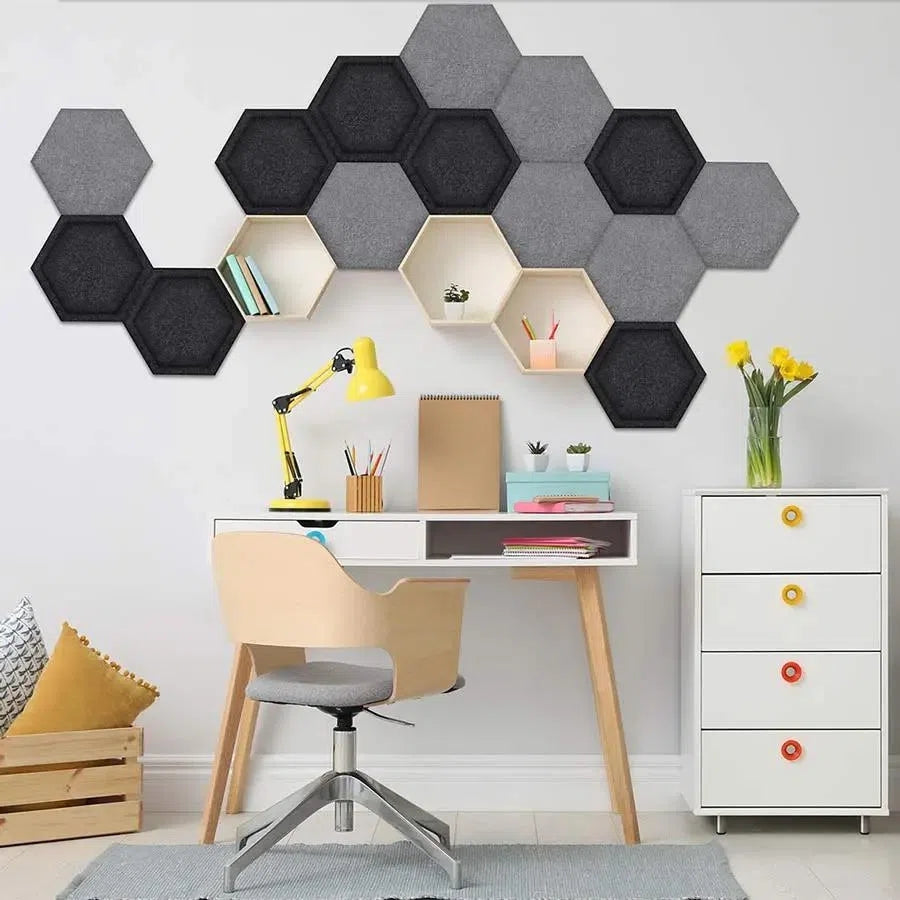
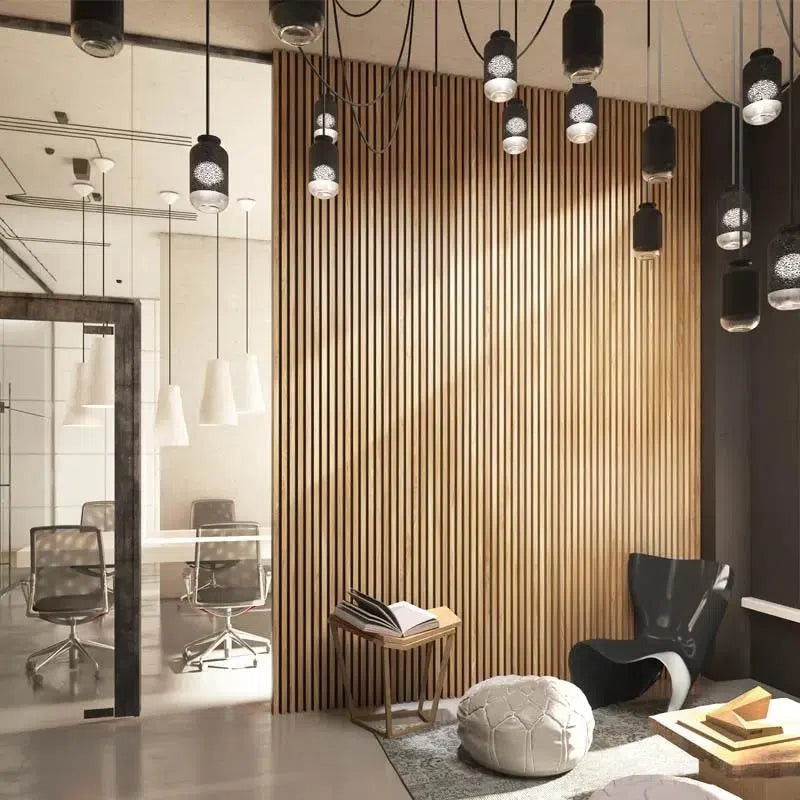
A plain painted field, a restrained vertical relief or a clearly bounded geometric feature can each work. Choose one main idea and let the remaining objects support it. Several strong patterns, numerous small pictures and a full bookcase can make a small camera view difficult to organise.
For colour inspiration, Dulux's 2026 colour stories include blues and examples of colour-blocked home offices. You might use a muted blue painted area alongside a timber-toned panel, or keep the whole backdrop within one quieter colour family. Treat the palette as a starting point and test it through your own camera.
Compare geometric felt and painted gypsum
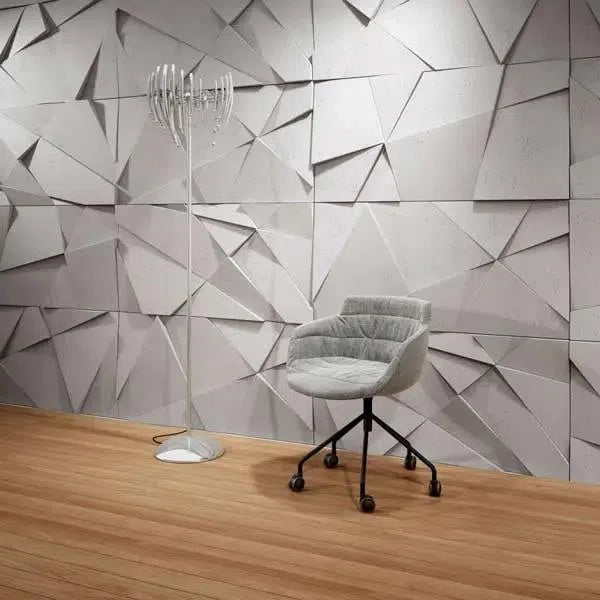
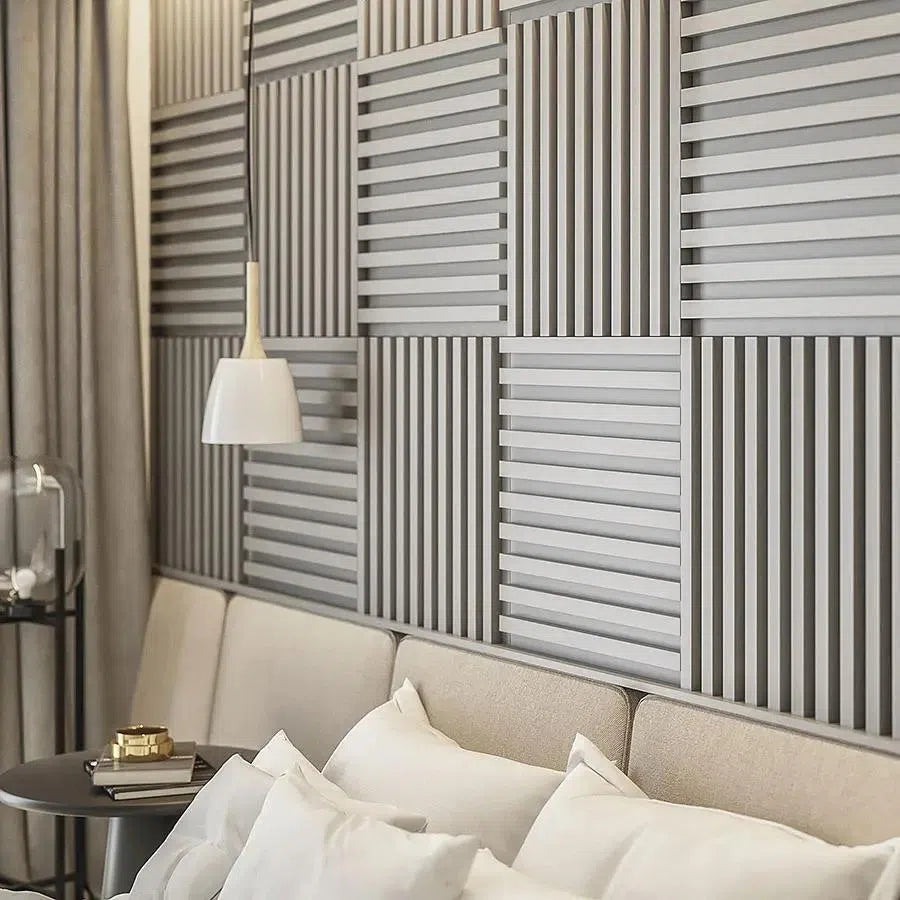
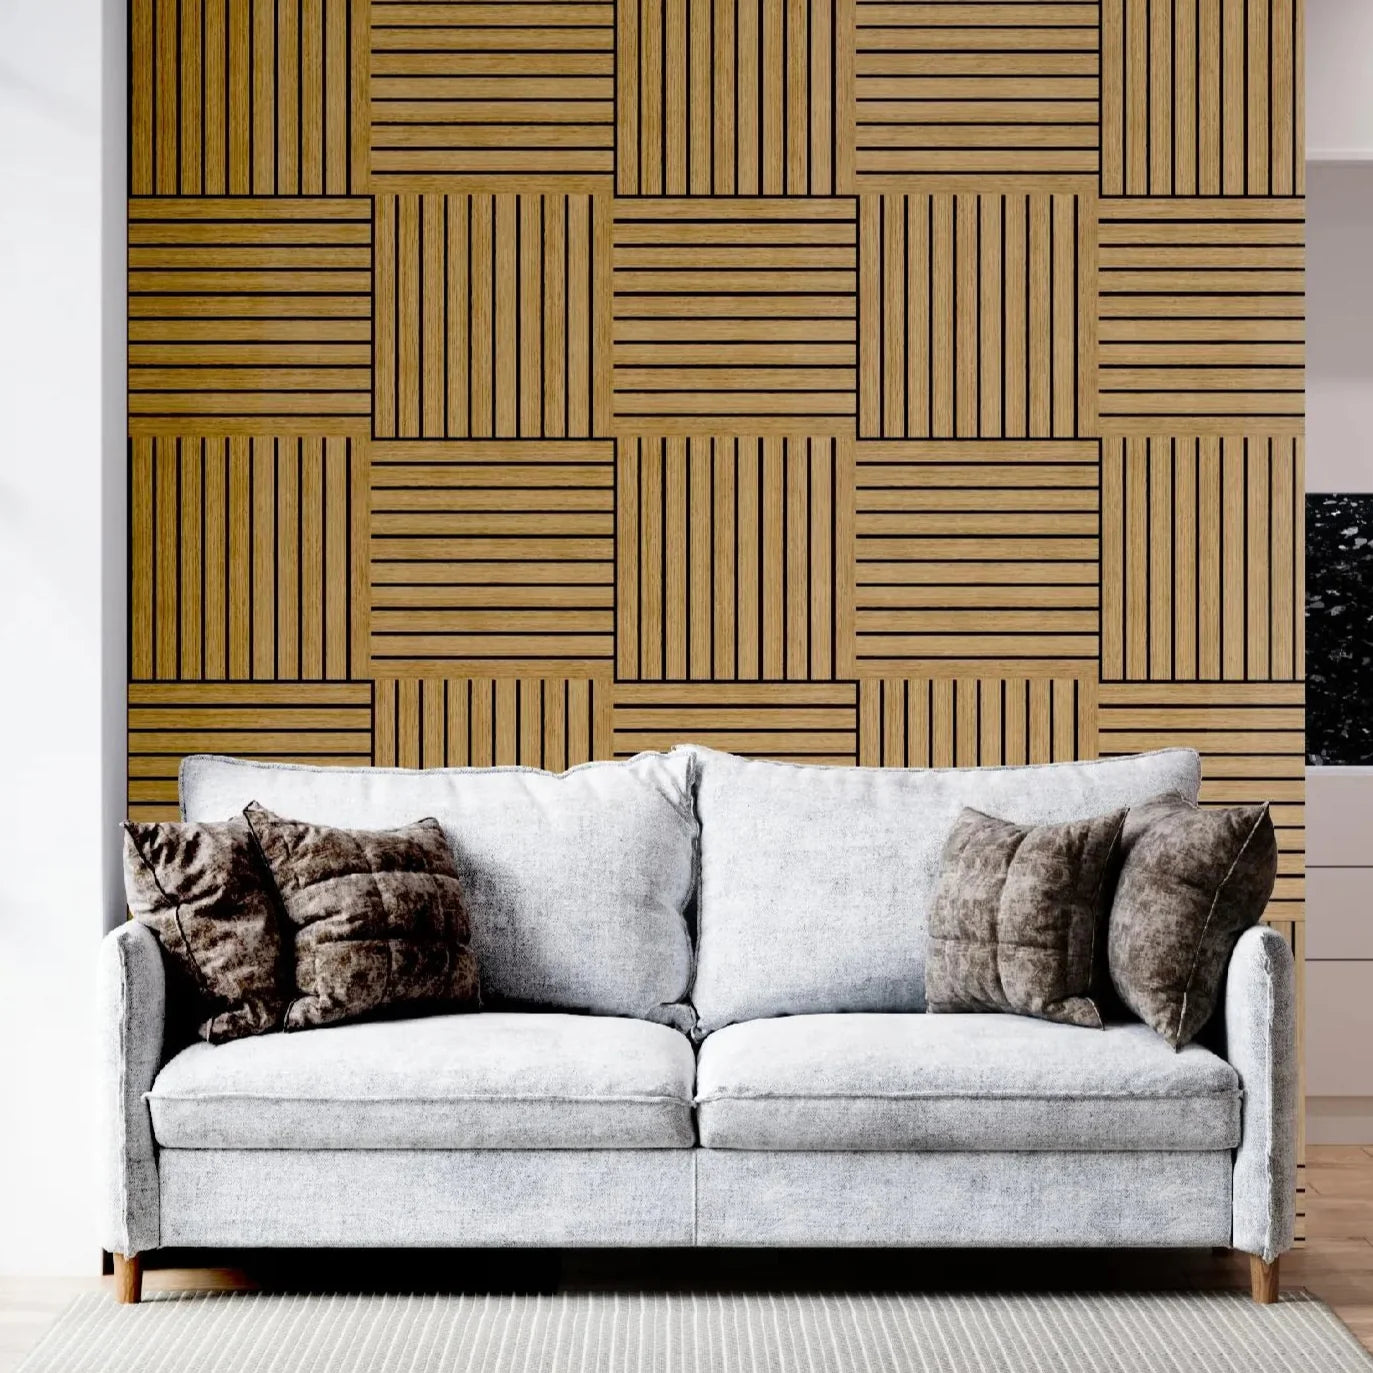
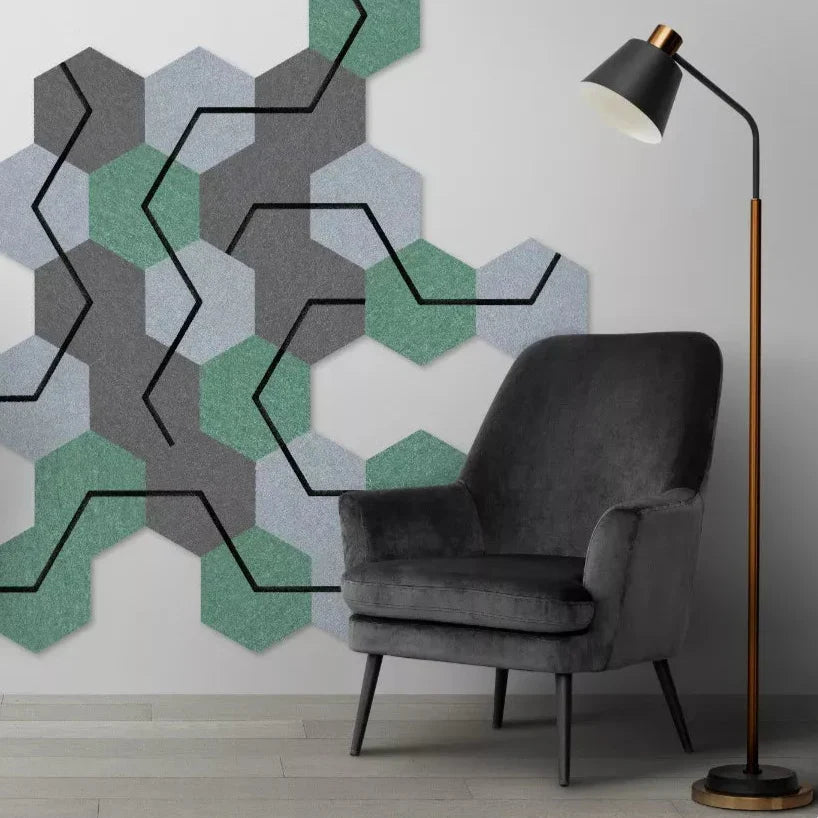
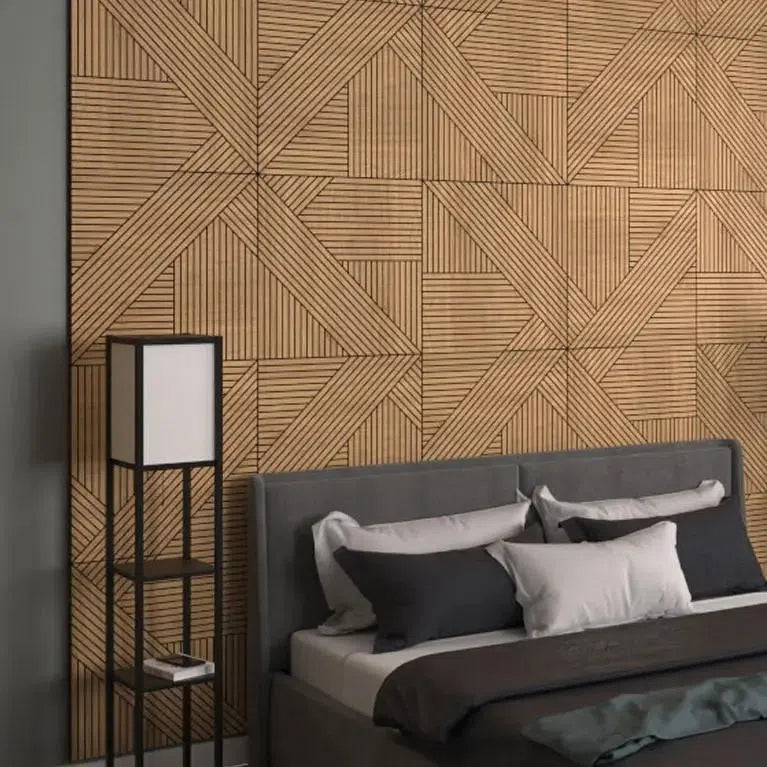
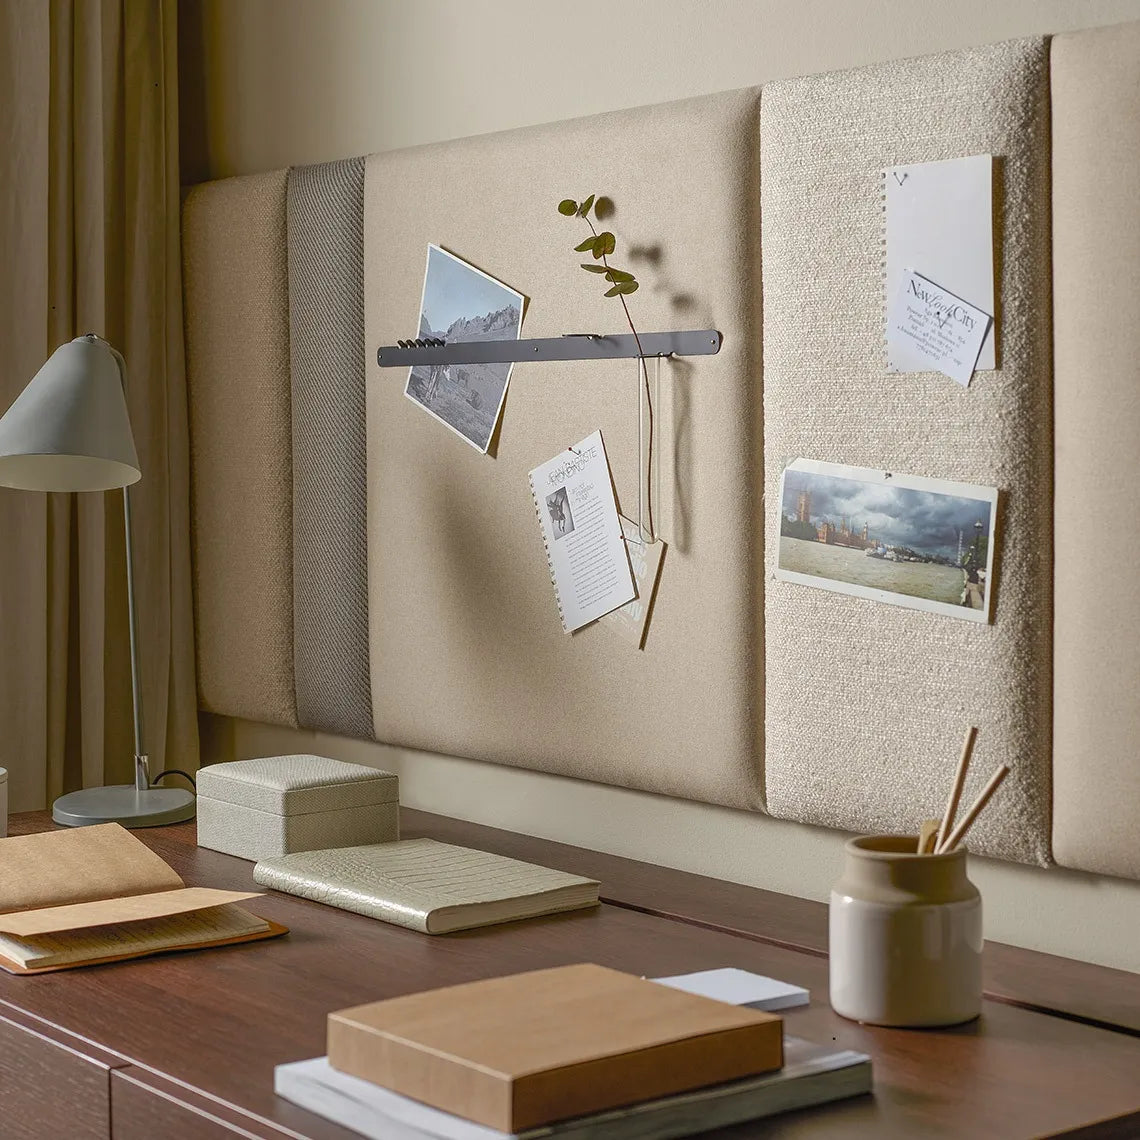
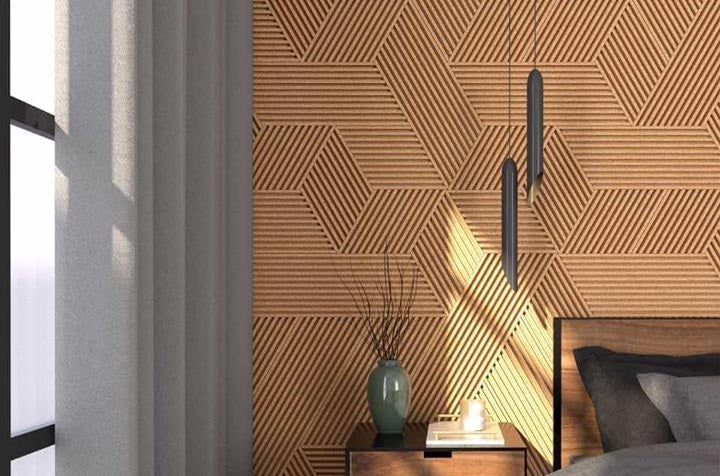
Felt Slatted Acoustic Wall Panels 2 have a wood-like finish on PET felt with an angular pattern. The current listing specifies 60 × 60 cm panels, 18 mm thick. A small arrangement can give one side of the background a distinct detail; check the repeated pattern in the live preview before committing to a larger area.
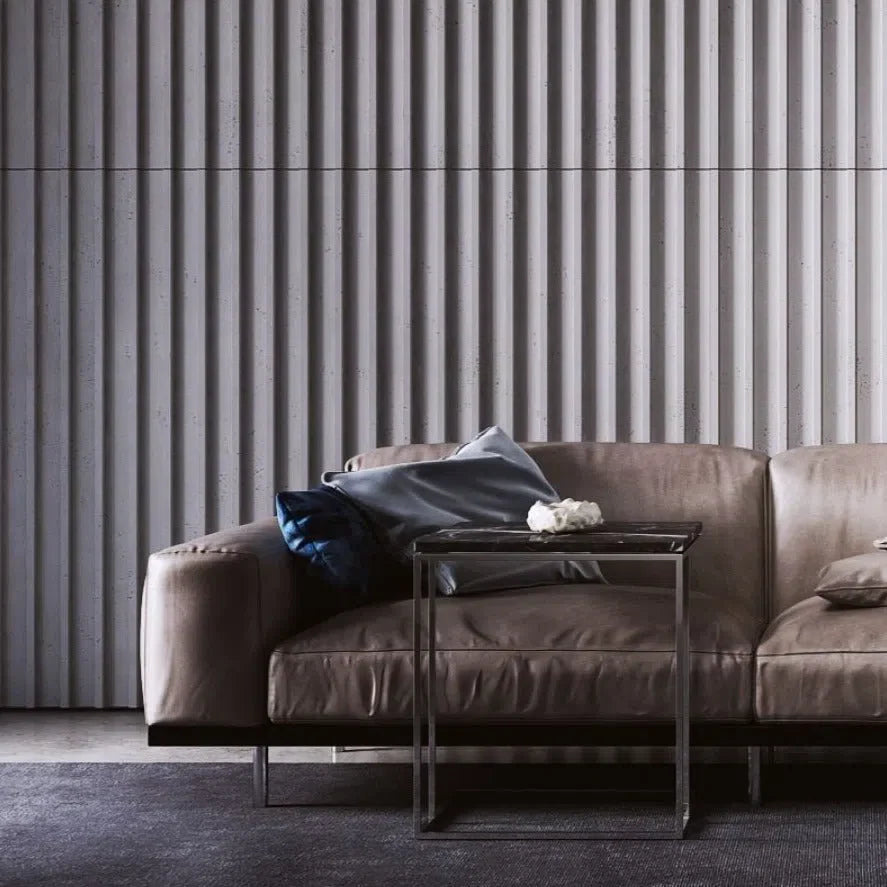
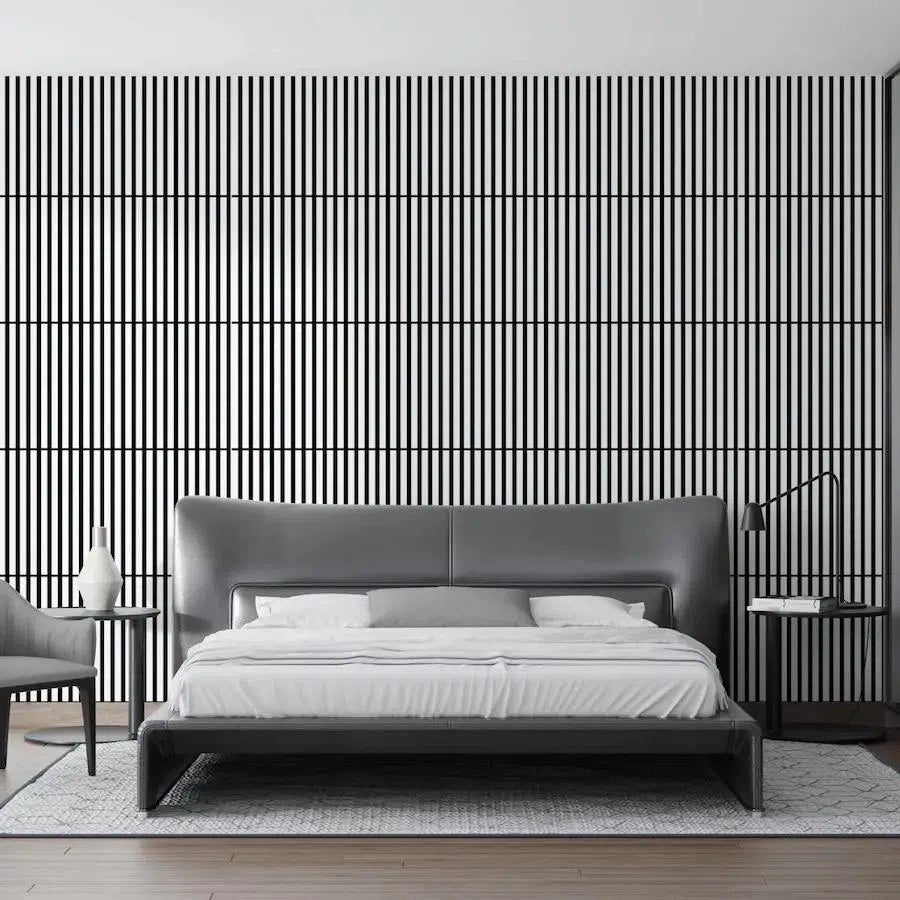
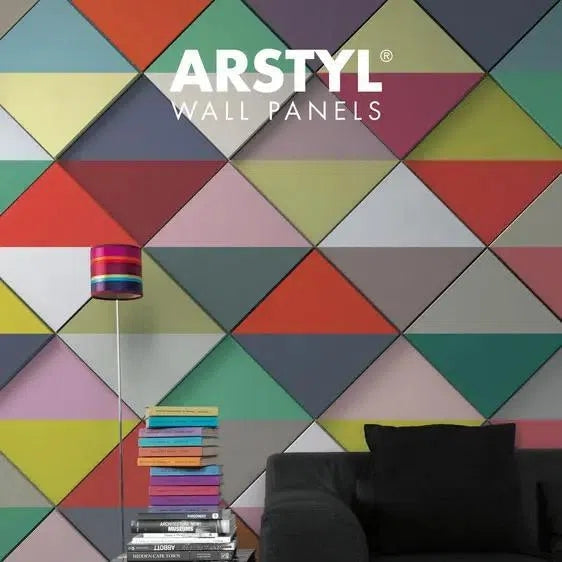
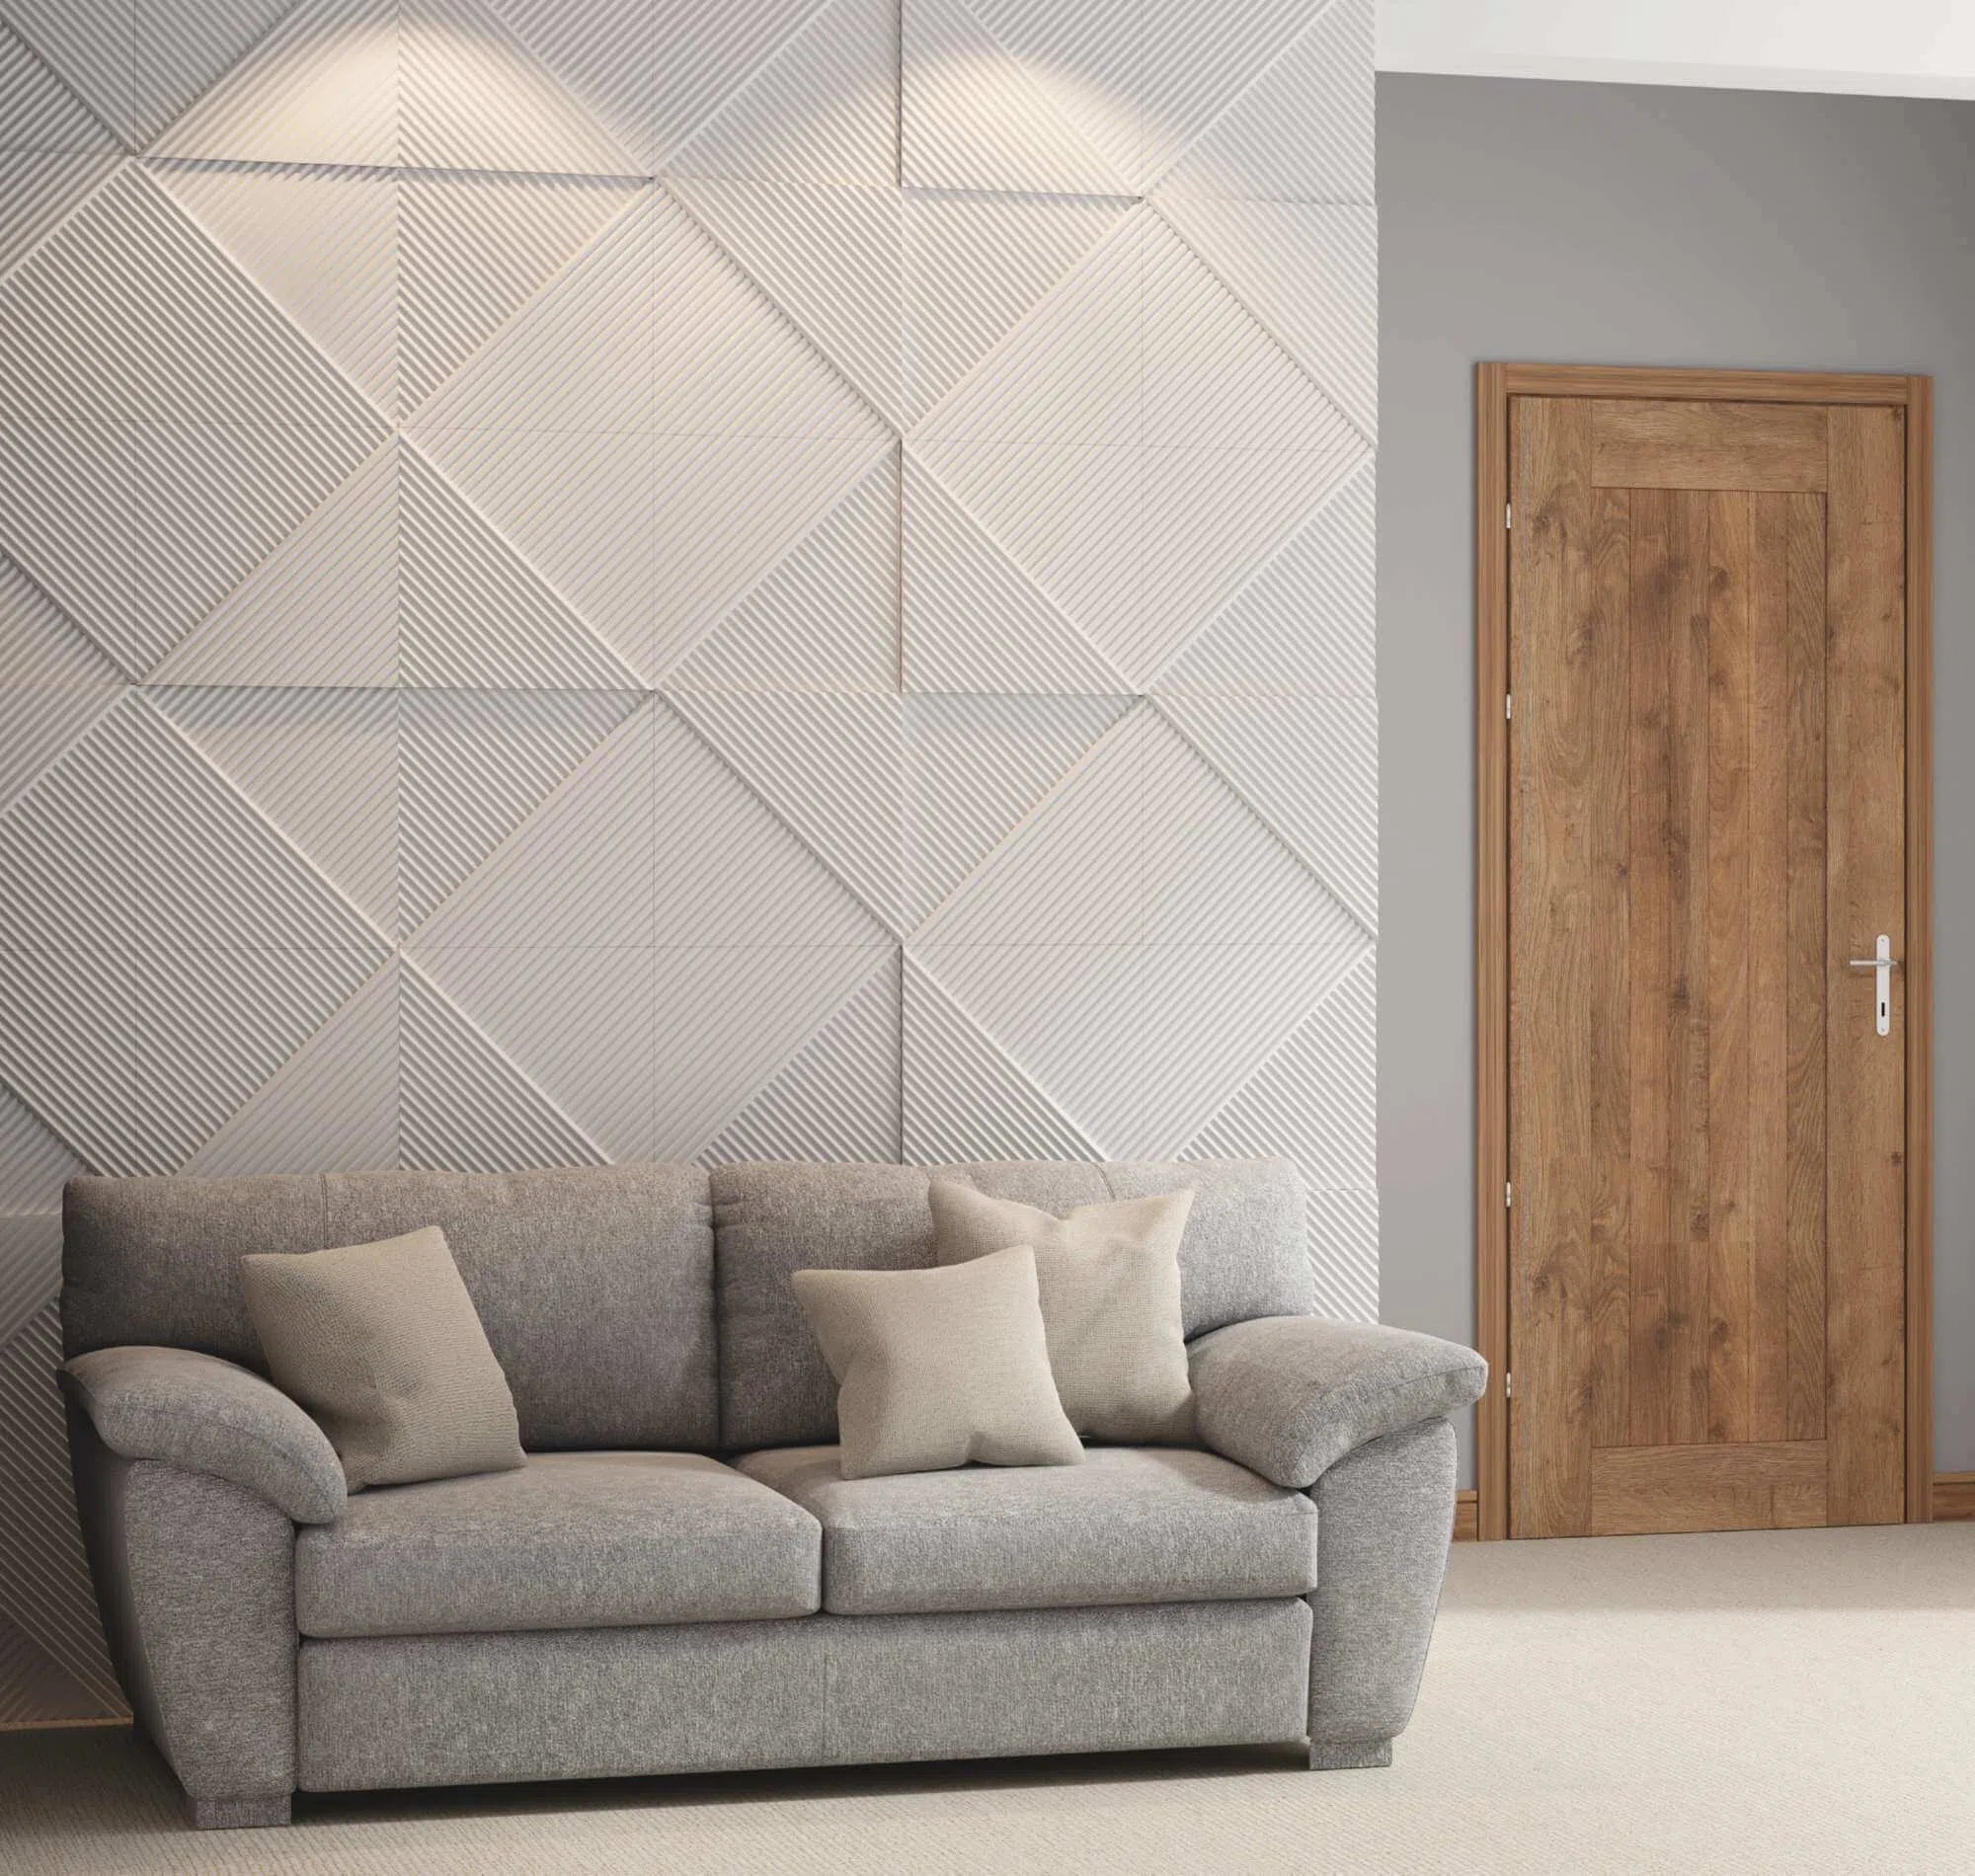
Fluted Slats 3D Gypsum Wall Panels offer a paintable linear relief in a 50 × 50 cm format. They suit a scheme where you want the wall colour and the changing shadows to define the feature. Plan how the individual panels meet so the lines remain intentional across the finished section.


These are two different visual approaches. Choose the felt pattern if you want a ready-designed timber-toned composition; compare the gypsum option if choosing a paint colour is central to the room. Check the current fitting and finishing requirements for either product before making the decision.
Test light on your face and the wall
Keep the face and the background in the same test. A beautifully lit wall is less useful if the person in front of it is difficult to see. Zoom's lighting guidance explains that reflective surfaces can distract viewers or affect the camera's automatic picture adjustment.
Start with the lighting already available and reposition it before adding more. Compare the wall with overhead lighting, a desk lamp and daylight separately. Strong light from one side may emphasise a panel's relief; a plainer lighting arrangement may produce a calmer backdrop.
Look at a short test recording as well as the still preview. Check whether the pattern feels comfortable when you move, and whether the colour still works with the clothes you normally wear. There is no single background colour that suits every camera, room and person.
Make the workspace practical off camera
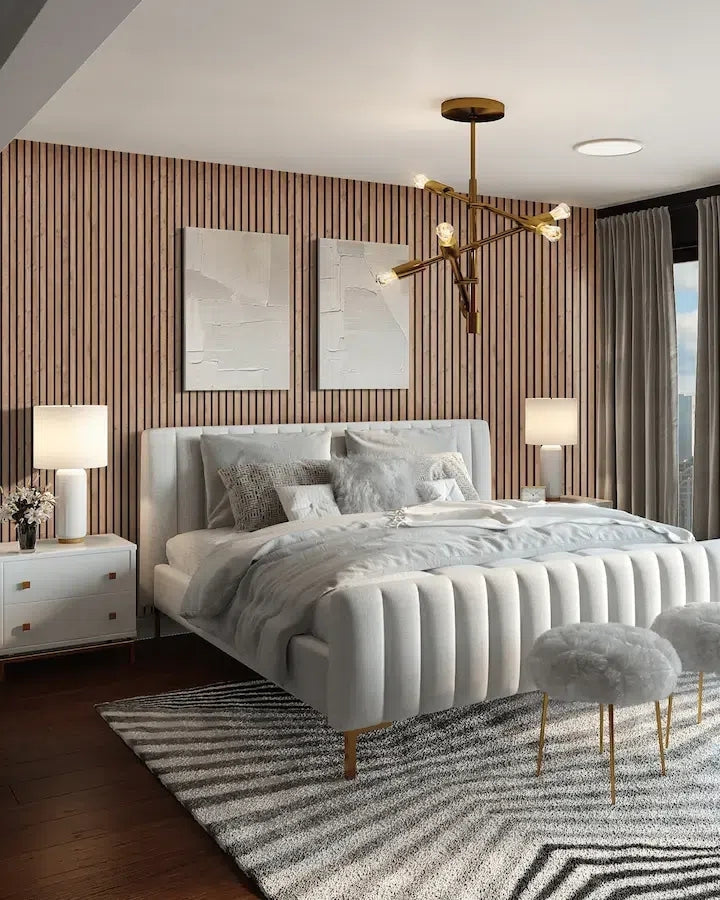
Keep enough room to move the chair and reach storage. Do not let a decorative section force the desk into an awkward position. Where the office shares a bedroom, relate the wall finish to the bed, curtains or wardrobe so the space feels coherent when work is finished.
Plan the panel depth, exposed ends and any shelves before installation. Shelves need suitable fixings into a supporting substrate; decorative panels should not be relied on to carry them. Follow the selected product's current instructions and resolve loose finishes or unsuitable wall conditions first.
Frequently asked questions
Should the panelled feature be centred behind me?
It can be centred or offset. Try both in the camera preview, checking that the edge of the feature does not create an awkward line directly behind your head.
Will these panels guarantee clearer call audio?
This guide is about the appearance of the background. Call audio depends on the room, microphone, settings and installation. Any acoustic specification needs product-specific evidence and a separate assessment.
Can I create a useful background in a small room?
Yes. Work from the camera's visible area, simplify nearby objects and compare a small feature with a plain painted wall before deciding how much material to use.
Bring the plan together
Test the camera view, lighting and desk position together. Then explore our felt slatted wall panels and 3D gypsum panels for a background that also suits the room around it.


