



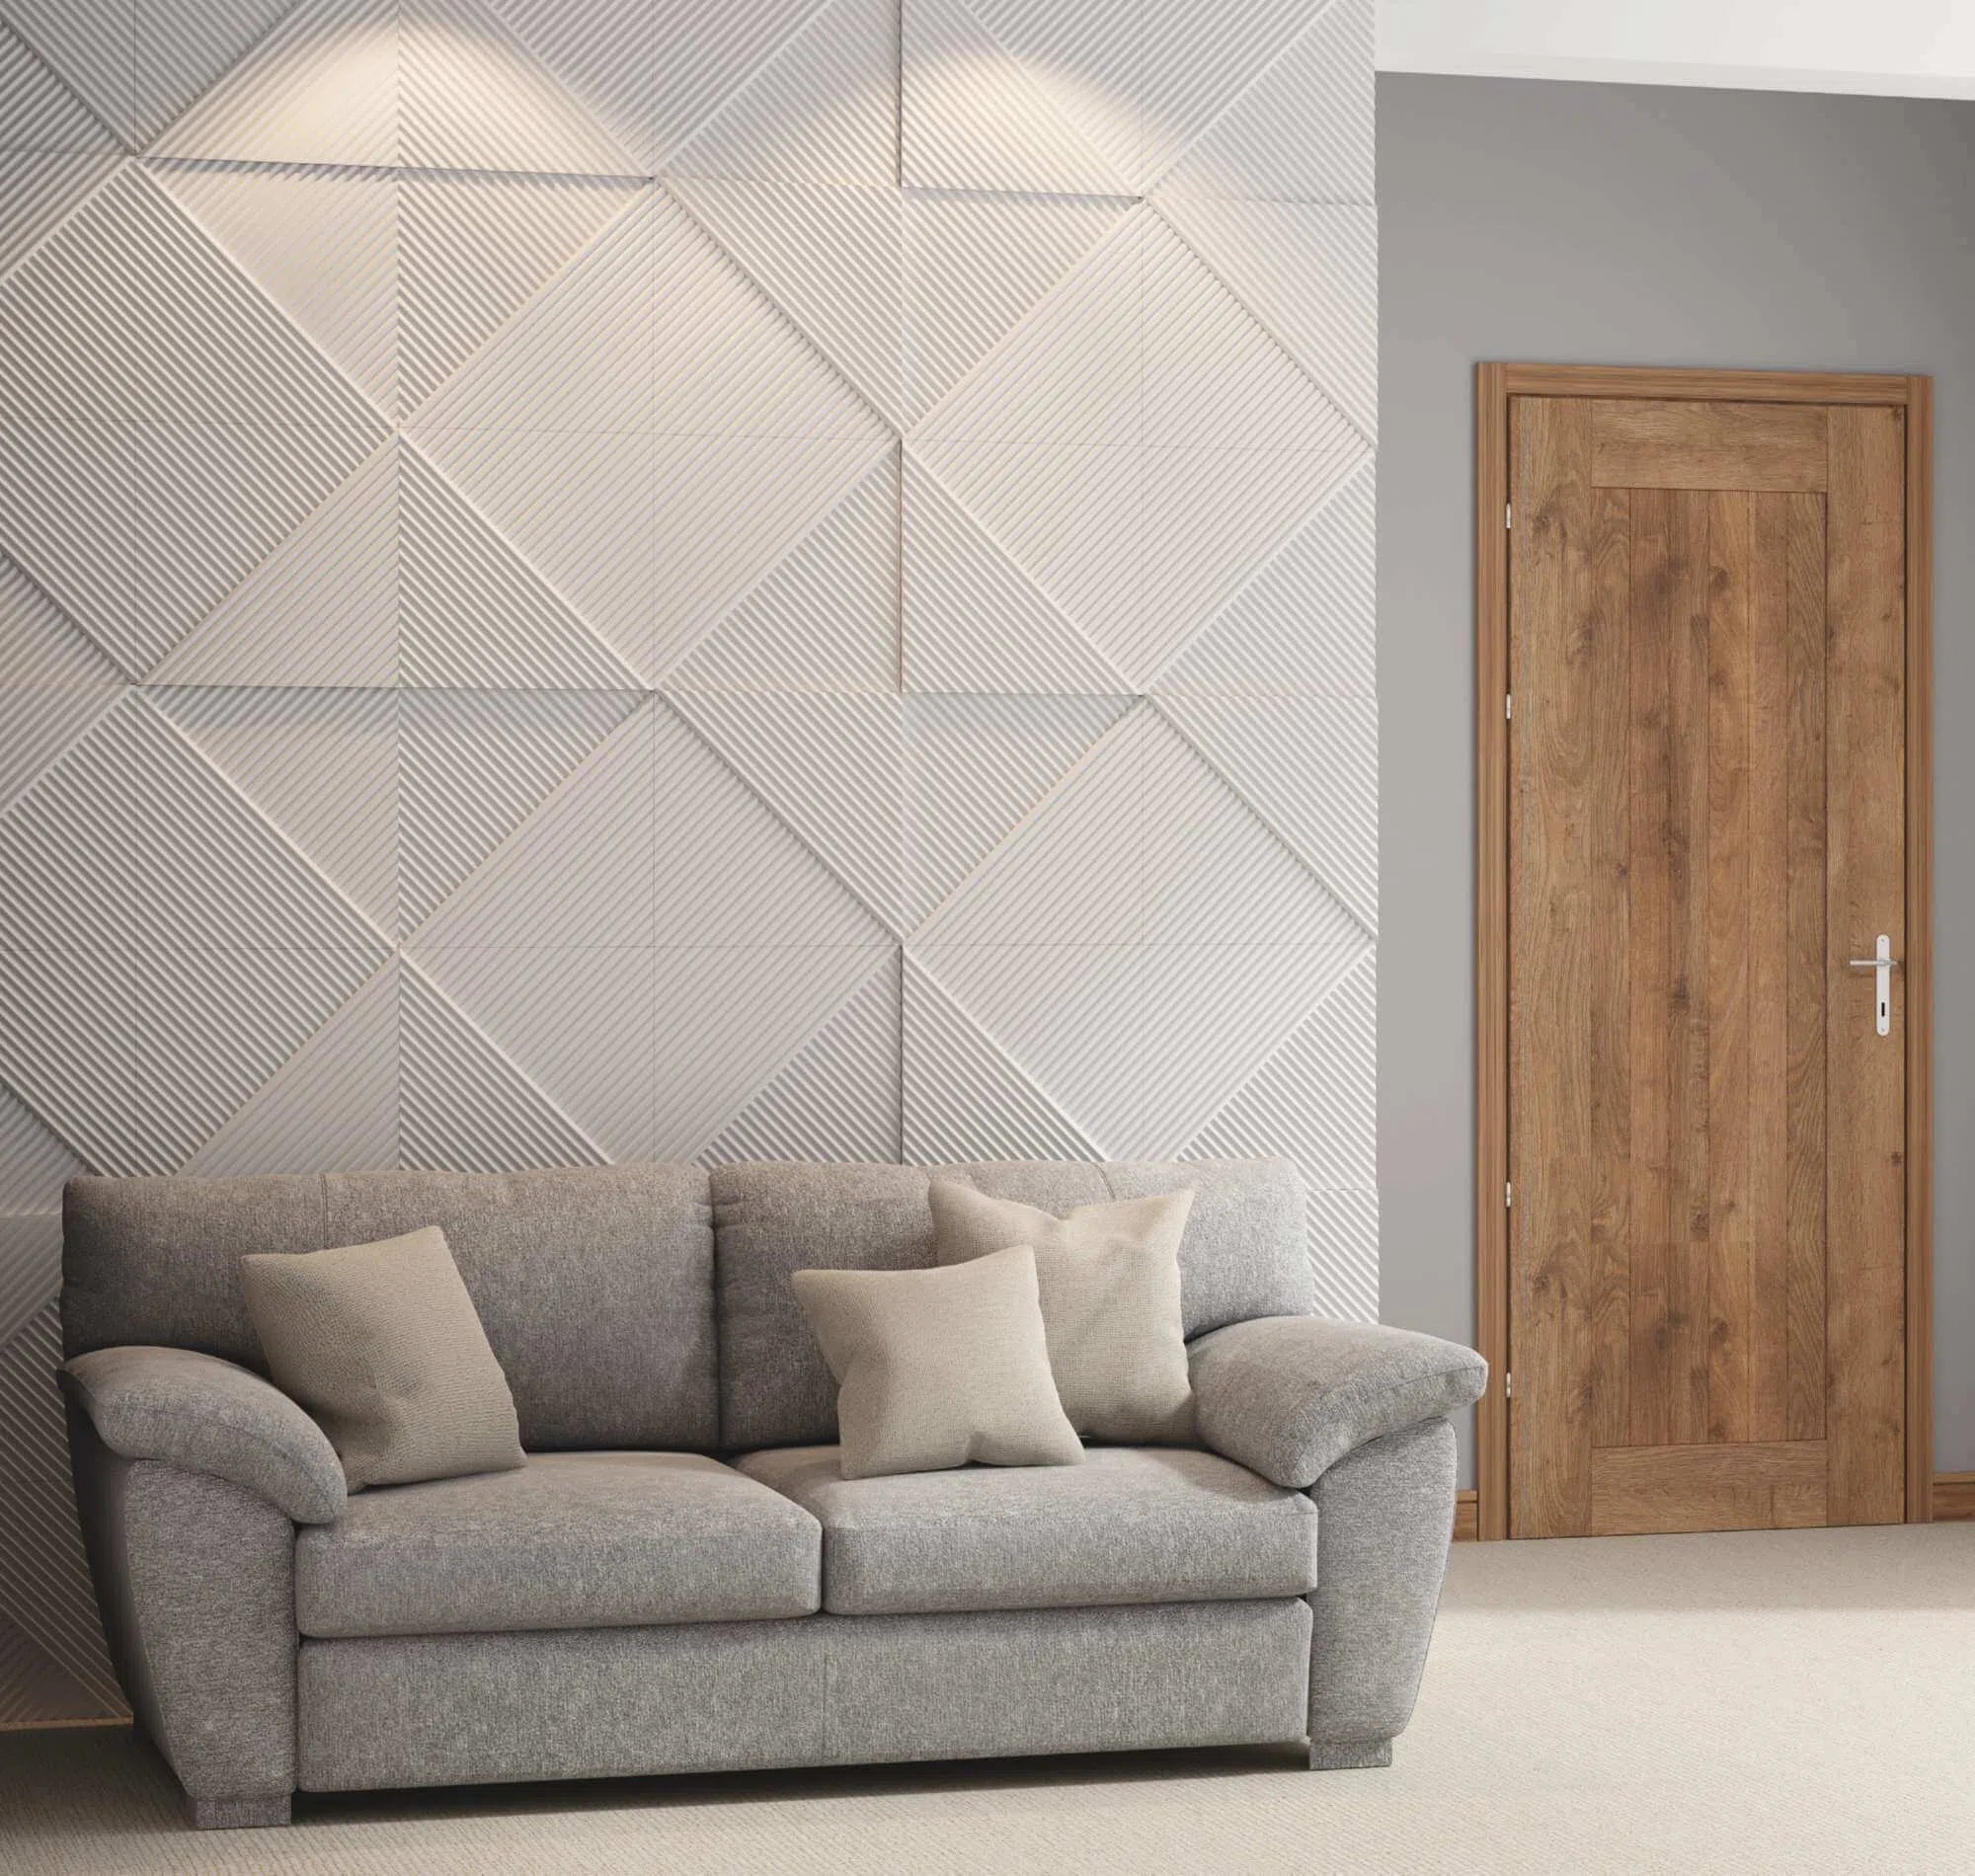
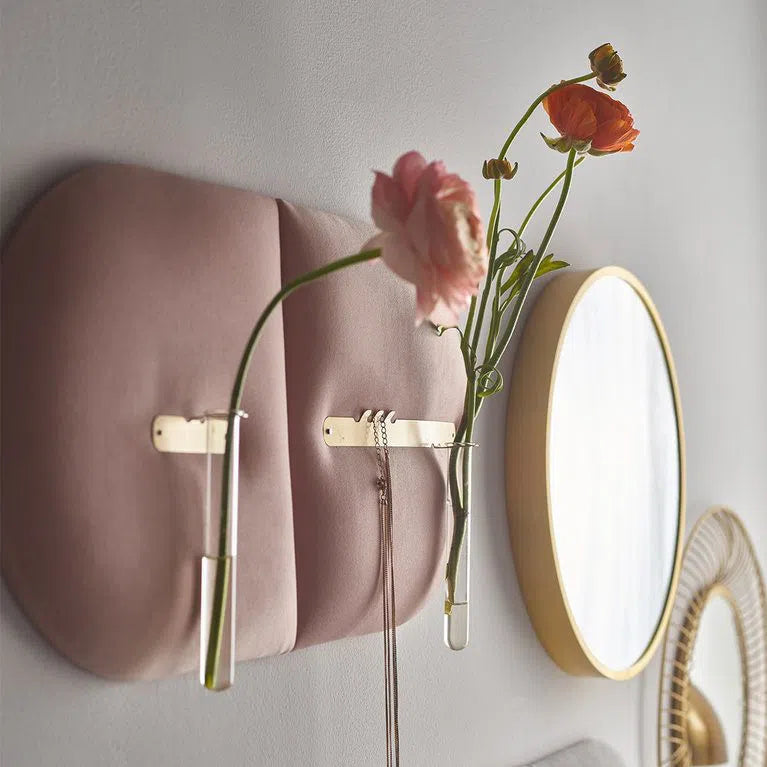
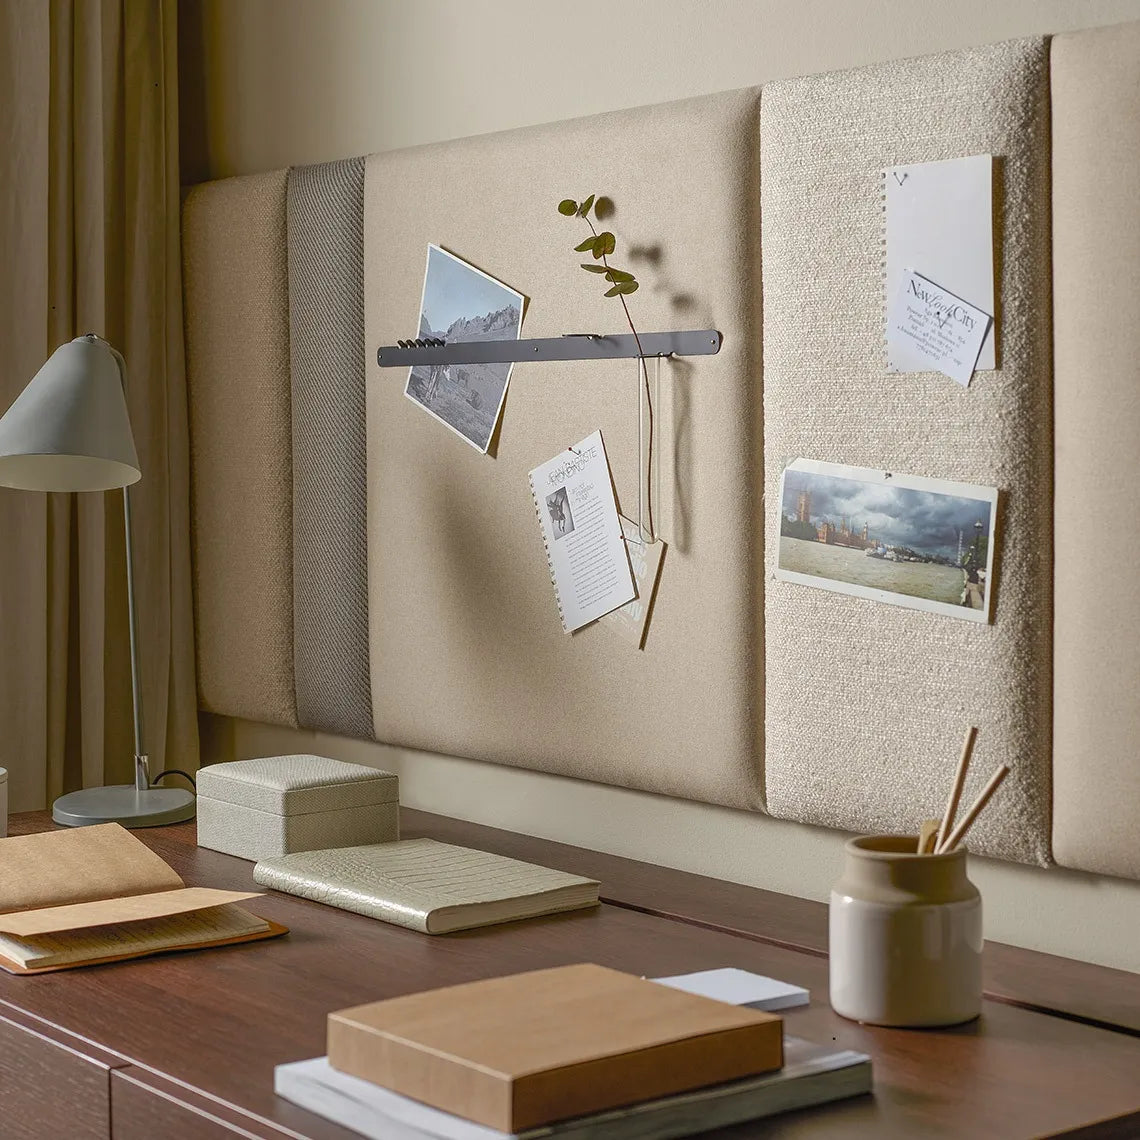

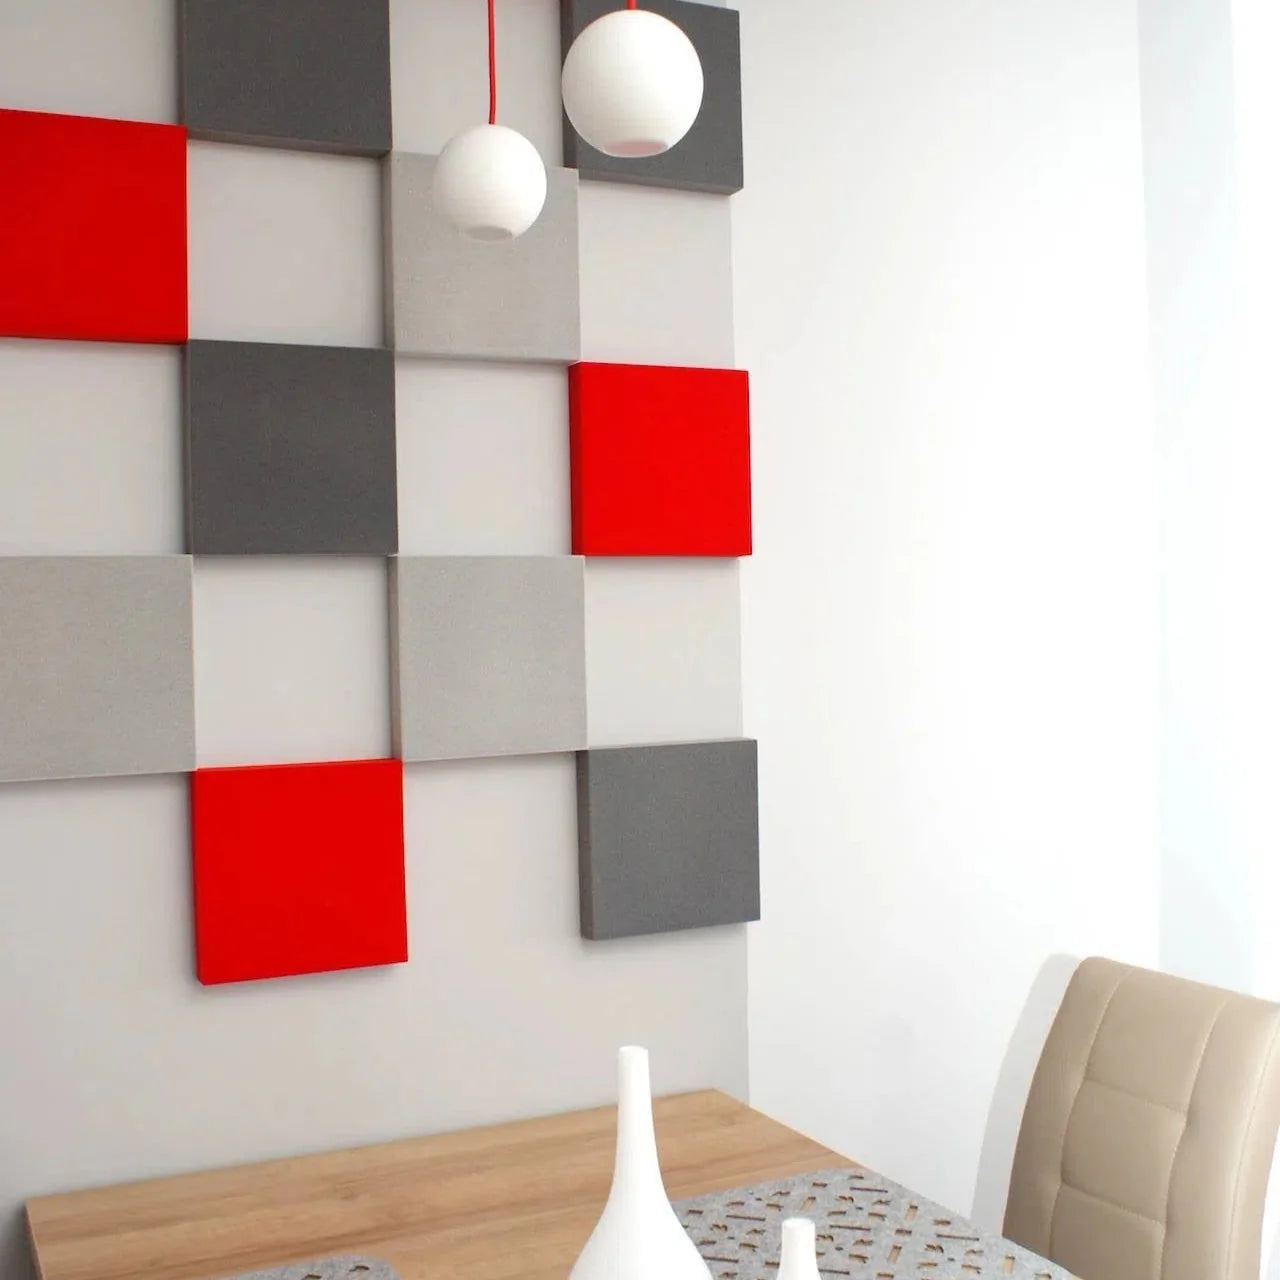




Colour drenching with wall mouldings works best when you decide how much detail the room needs before choosing the paint. Carrying one colour across the wall and its raised profiles lets the relief appear through light and shadow. The result can feel calm or dramatic, depending on the colour, the moulding and the light.
There is useful inspiration in Dulux's 2026 colour family, which includes Free Groove, Mellow Flow and Slow Swing. Treat those blues as starting points to test in your room. A palette chosen for the year still needs to work with your flooring, curtains and everyday lighting.
Decide where the colour will go
Little Greene's colour-drenching guide explores carrying colour across walls, woodwork and ceilings. Before buying paint, list the surfaces you intend to include. Walls and decorative frames are a manageable starting point; adding the skirting, doors and ceiling makes the scheme more encompassing.
- One colour throughout: use the wall colour on the mouldings so that their shape, rather than a painted outline, defines the pattern.
- Related tones: keep the wall and moulding together, then test a lighter or deeper ceiling colour. Check the combination as a whole.
- A restrained first step: begin in a room with a clear boundary, such as a study or dining room, where the palette can finish neatly at the doorway.
Include the view into adjoining rooms. An open door may place your proposed blue beside a warm hallway or a brightly coloured kitchen, which changes how it reads.
Give the moulding a clear job
A horizontal rail establishes a dividing line; slim rectangular frames introduce repetition. Choose the role first. Combining too many frame sizes, rails and contrasting finishes can make a simple colour idea unnecessarily complicated.
WL11 WALLSTYL is a 49 mm-high profile with a 15 mm projection, supplied in 2 m lengths. It can provide a more defined horizontal line. WL12 WALLSTYL measures 24.5 × 11 × 2,000 mm and offers a slimmer rounded profile for decorative frames. Both are factory-primed, and the manufacturer identifies them as profiles that can be combined.


Use full-size paper strips or low-tack tape to test their apparent width on the wall. Check the tape on an inconspicuous area first. Stand at the doorway and sit in the main chair: the pattern needs to make sense from both positions.
Balance the pattern with the furniture
Draw the sofa, sideboard and artwork on your wall elevation before arranging frames. A tall central frame behind a picture can work well, but a rail crossing just above a sideboard may look accidental. Move the proposed line on the drawing until the relationship feels deliberate.
In a room with patterned curtains, bookshelves or a prominent fireplace, fewer larger frames often give those existing details more breathing space. Where the furniture is simple, a more regular moulding arrangement can become the main decorative element.
Test colour on more than one surface
- Prepare generous test boards. View them beside the floor and upholstery, then move them from the window wall to the darker side of the room.
- Check daylight and evening light. Look at the chosen colour with the lamps you actually use. Do this before committing to an entire ceiling.
- Compare finishes as well as shades. Matt and more reflective finishes can make the same colour appear different, particularly on raised details.
- Confirm product compatibility. Ask the paint maker and follow the moulding instructions for the required preparation and suitable coating system. A factory primer does not make every paint appropriate.
Plan the order of work
Resolve loose paint, damp or unsound plaster before fitting decorative profiles. Agree the layout, corner treatment, adhesive and joint-finishing method before cutting. Check the manufacturer's current instructions for drying and painting stages, and allow access around furniture while the work is completed.
Keep a labelled record of the paint colour and finish used on each surface. That is especially helpful when the scheme looks like one colour but uses different products on walls and joinery. Retain suitable touch-up paint in accordance with its storage instructions.
Frequently asked questions
Do I have to paint the ceiling?
No. You can start with walls and mouldings, then decide whether extending the colour to the ceiling improves the scheme. Test it rather than treating it as a compulsory step.
Will the mouldings disappear in the same colour?
The relief remains visible through shadow and reflection. A subtle profile may be quiet in diffuse daylight and more noticeable under side lighting, so review it at different times.
Bring the plan together
Choose the surfaces, mark the moulding pattern and test the colour before ordering the full project. Explore our dado rails and panel mouldings to compare profiles that suit your room's scale.


